Phishing Infrastructure
The following blog will cover, how someone can set up a phishing infrastructure.
We will be considering a scenario, where we are interested in the credentials harvesting.
We will be using GoPhish as a framework to set up and execute the phishing campaign and using Amazon SES as mail server.
This blog assumes, that you have some basic understanding of AWS console and Linux command line.
Prerequisites
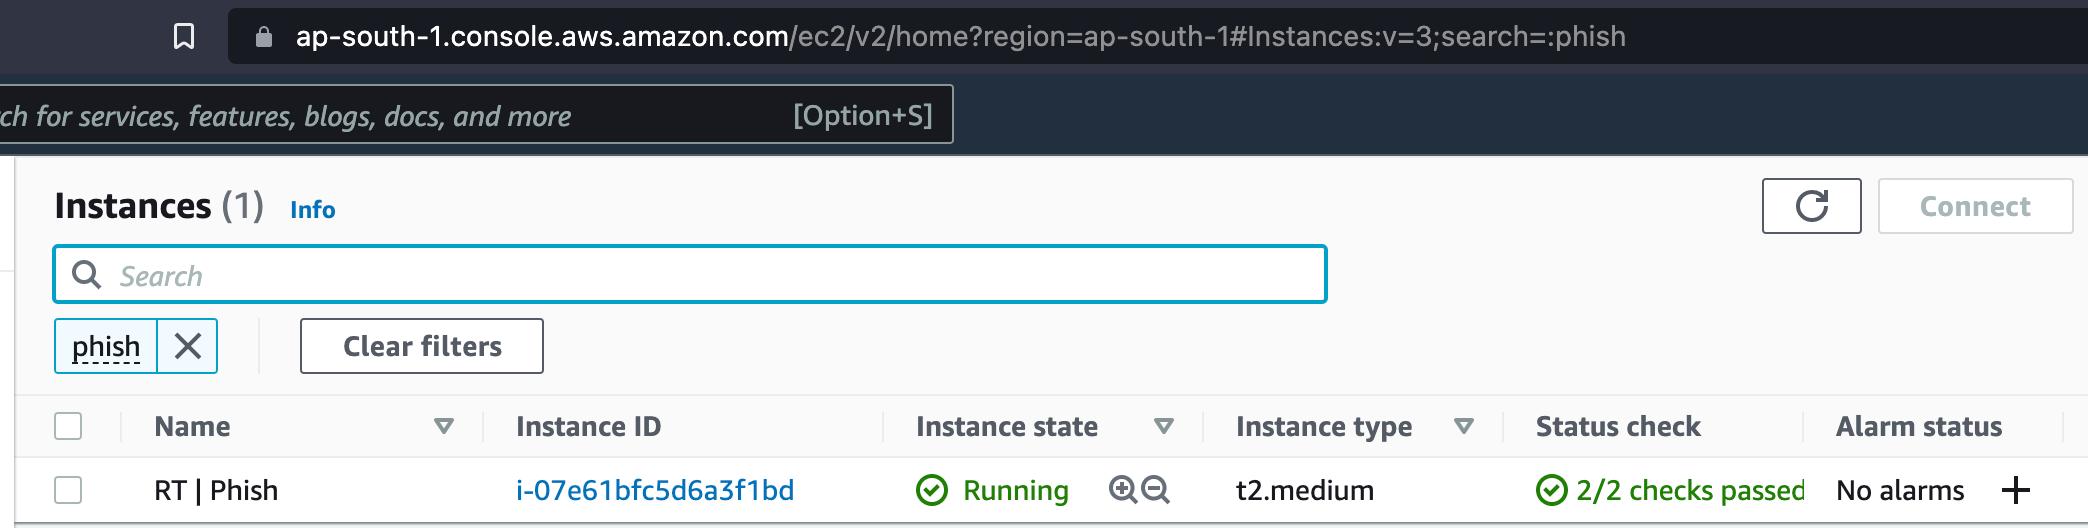
1.  An EC2 instance
2.  Domain configured on Route53
Let’s start by configuring the GoPhish server on the EC2.
Since we are in setup face, and we don’t want our 443 to be exposed to the public internet. To address that, we can avoid creating a security group entry for 443 or only whitelist your on VPN IP. This way, internet scanner won’t be able to pick up your GoPhish instance.

Once all setup, let’s log in to the ec2 instance.
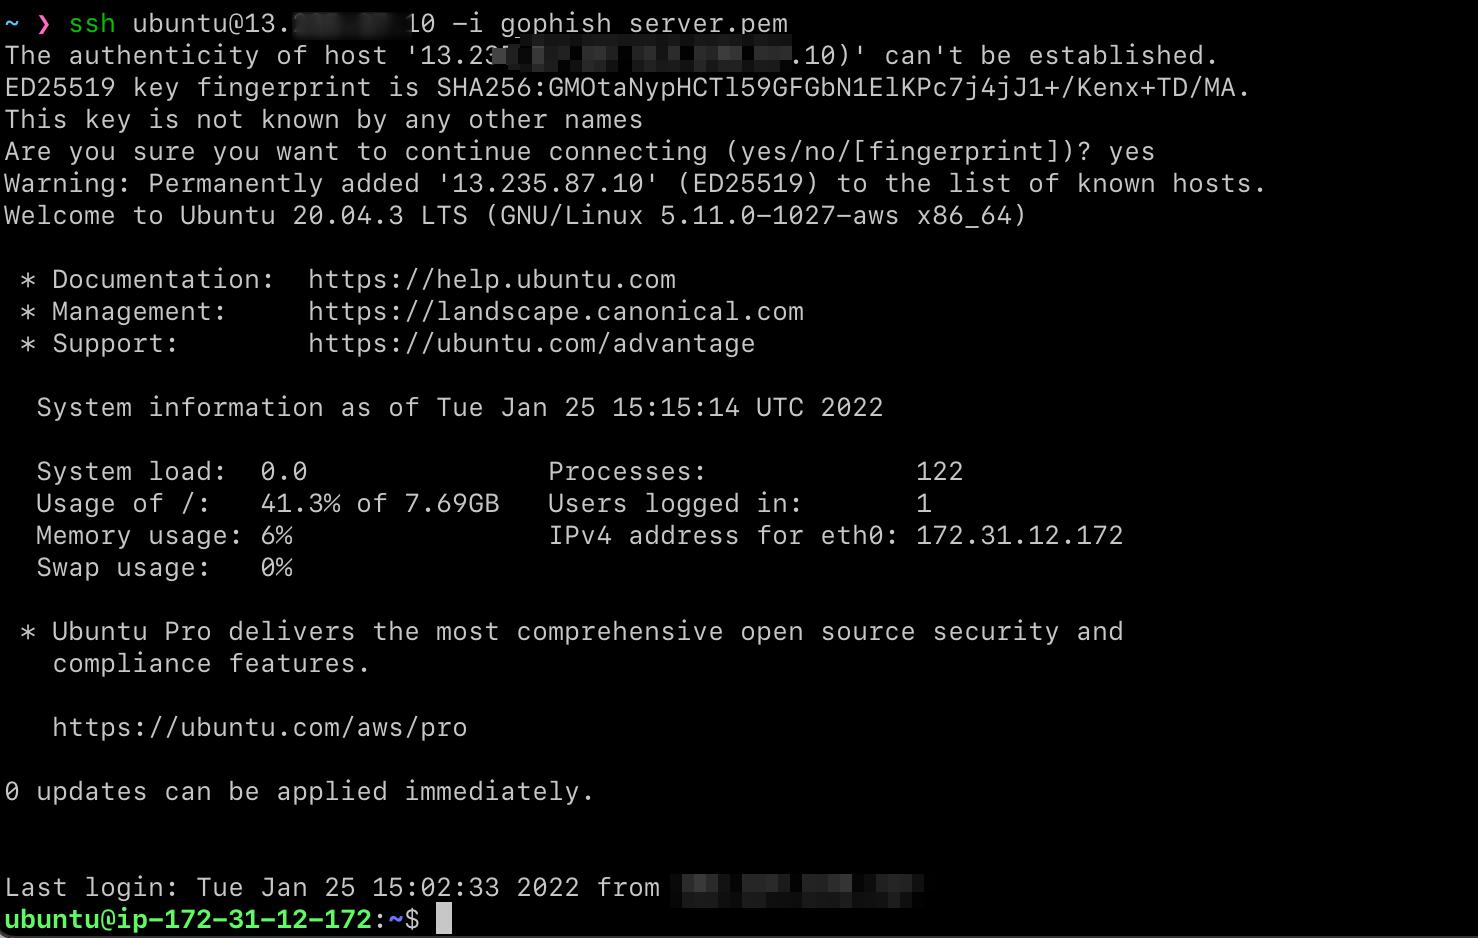
Now let’s make sure that our systems are completely updated.
sudo apt update && sudo apt dist-upgrade -y
Once that’s done, let’s install the tool required so that we can host the GoPhish server.
sudo apt install git openssl python3-certbot-nginx python3-pip tmux
snap install go --classic
Now let’s build GoPhish server. We may directly download the executable and run it. But GoPhish comes with a lot of IOC’s.
Let’s remove the IOC’s and build it from the source itself.
git clone https://github.com/gophish/gophish
sed -i 's/X-Gophish-Contact/X-Contact/g' models/email_request_test.go
sed -i 's/X-Gophish-Contact/X-Contact/g' models/maillog.go
sed -i 's/X-Gophish-Contact/X-Contact/g' models/maillog_test.go
sed -i 's/X-Gophish-Contact/X-Contact/g' models/email_request.go
sed -i 's/X-Gophish-Signature/X-Signature/g' webhook/webhook.go
sed -i 's/const ServerName = "gophish"/const ServerName = "IGNORE"/' config/config.go
sed -i 's/const RecipientParameter = "rid"/const RecipientParameter = "id"/g' models/campaign.go

Now let’s change how the GoPhish server reacts to HTTP requests.
Changes have to be made in phish.go at 2 places
import 2 packages
bytes
html/template

After the WithContactAddress function, create a custom http response.
func customError(w http.ResponseWriter, error string, code int) {
w.Header().Set("Content-Type", "text/html; charset=utf-8")
w.Header().Set("X-Content-Type-Options", "nosniff")
w.Header().Set("X-XSS-Protection","1; mode=block")
w.Header().Set("X-Frame-Options","SAMEORIGIN")
w.Header().Set("Content-Security-Policy","default-src https;")
w.Header().Set("Server", "nginx")
w.WriteHeader(code)
fmt.Fprintln(w, error)
}
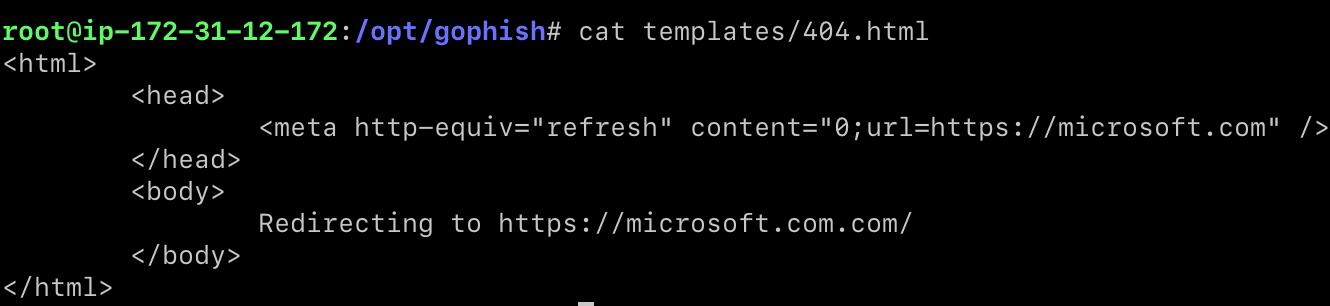
func customNotFound(w http.ResponseWriter, r *http.Request) {
tmpl404, err := template.ParseFiles("templates/404.html")
if err != nil {
log.Fatal(err)
}
var b bytes.Buffer
err = tmpl404.Execute(&b, "")
if err != nil {
http.Redirect(w, r, "https://microsoft.com/", 302)
return
}
customError(w, b.String(), http.StatusMovedPermanently)
}
Replace all the function call for NotFound with customNotFound and let’s create a custom 404 pages.
Once IOC’s are removed, let’s build the binary.
go build
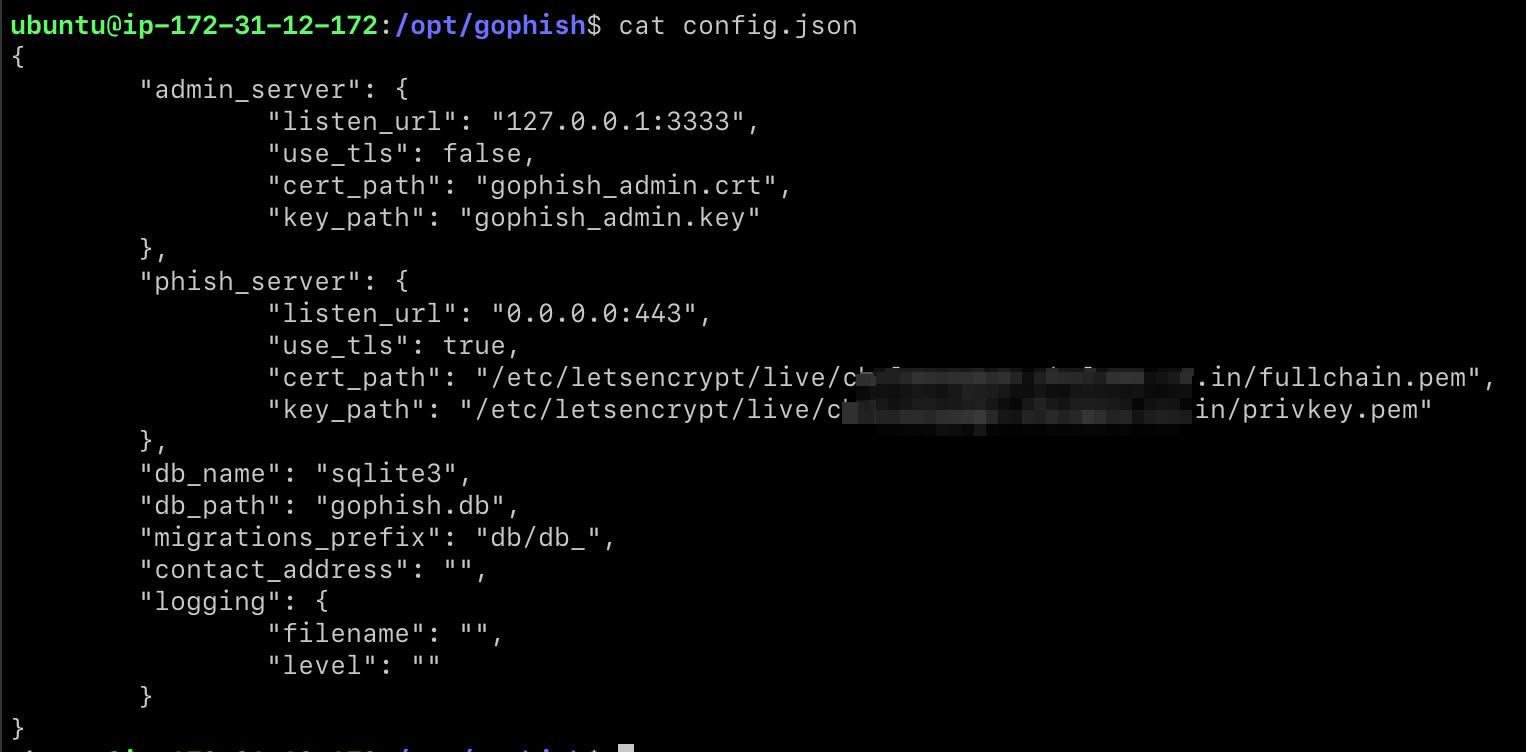
Once we have the binary built, let’s modify the config.json before we start the server.
Since we are not exposing the admin_server port 3333, we don’t SSL for that.
phish_server is going to interact with the victims, configure that on port 443 and get a valid SSL certificate.
For SSL certificate, we can use Let’s Encrypt.
sudo certbot -d domain.com --nginx
While try to get the certificate, make sure that we open port 80 of the ec2 instance on AWS console. Let’s encrypt uses port 80 by default to check the whether DNS for the domain is pointing to the EC2 IP address.
If we start our GoPhish server, we may see that it is listening on port 3333 on localhost and 443 on all ports.
Admin portal is not directly exposed to the internet, it’s running on localhost.
To access the port, we will use ssh port forwarding.
ssh ubuntu@<ip> -i gophish_server.pem -L 3333:localhost:3333
Once we are logged in, with in tmux, we can start the GoPhish server.
They navigate to http://localhost:3333, and we’re able to find the admin portal.
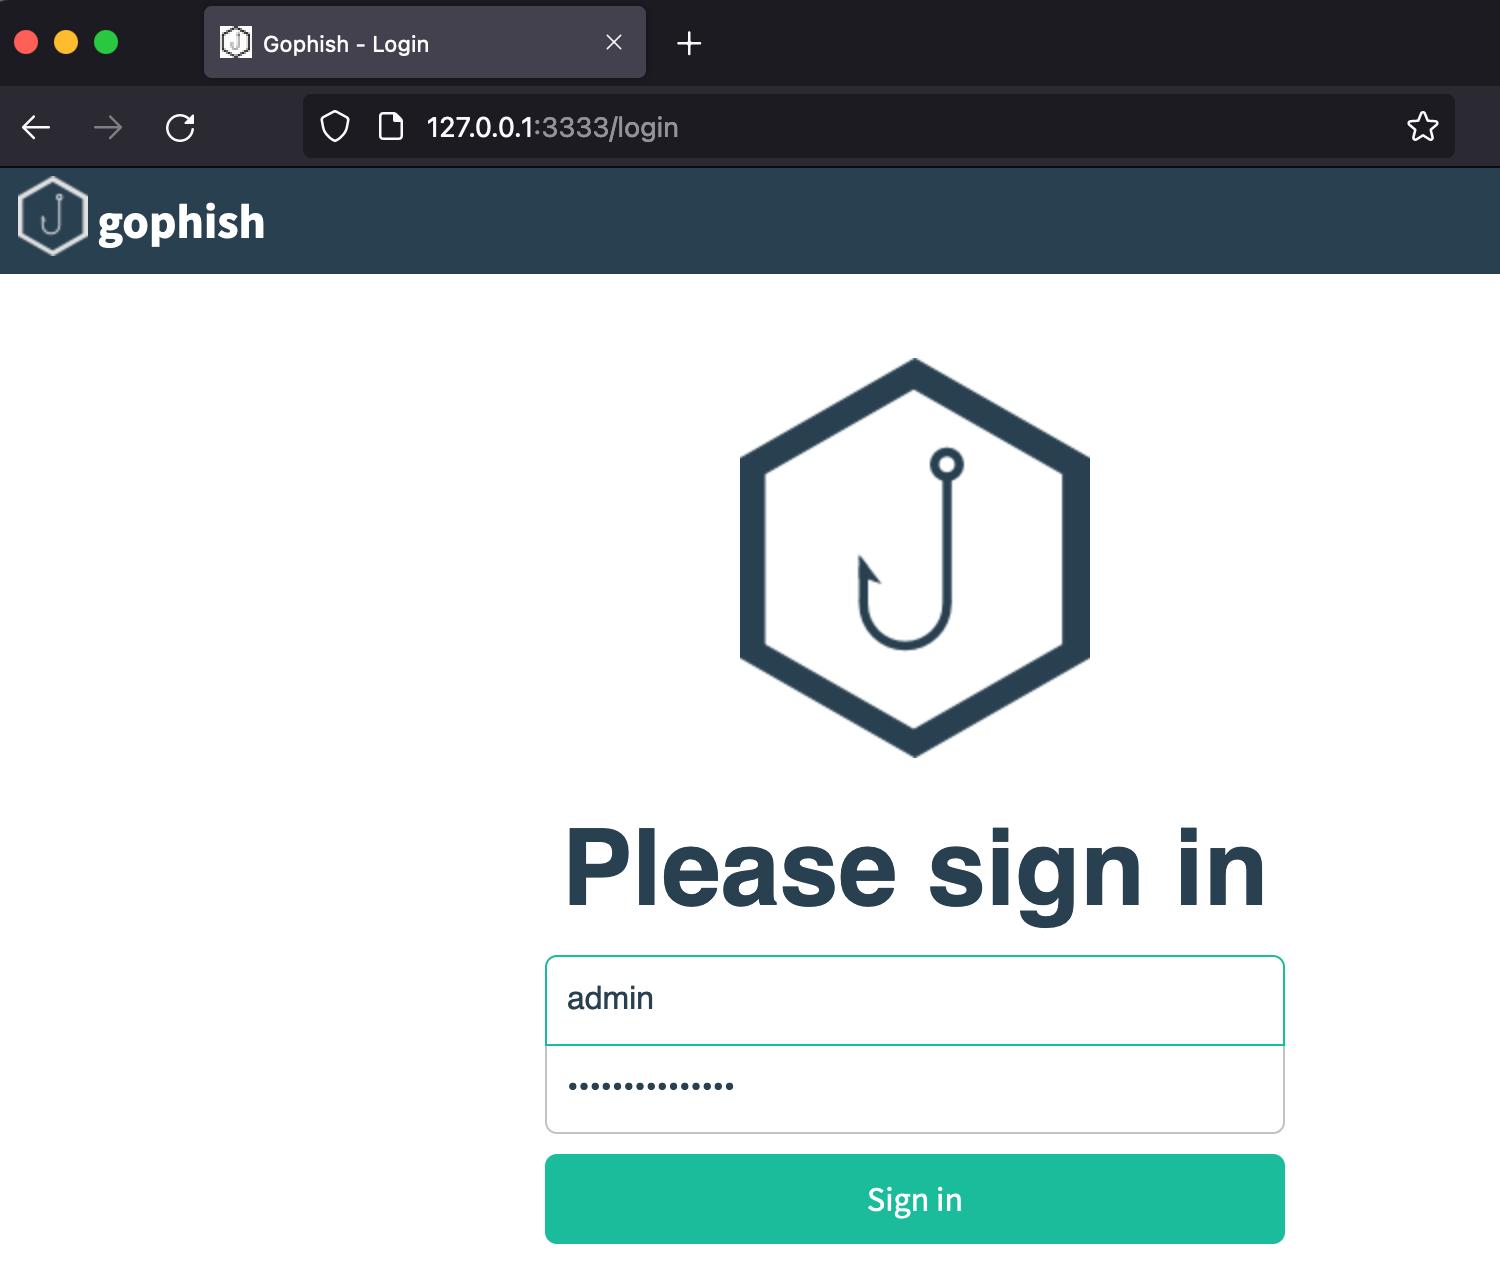
Once we log in, we have to set up 4 things
1.  Configure SES
2.  Sending Profile
3.  Email template
4.  Landing Page
5.  User list
Let’s start
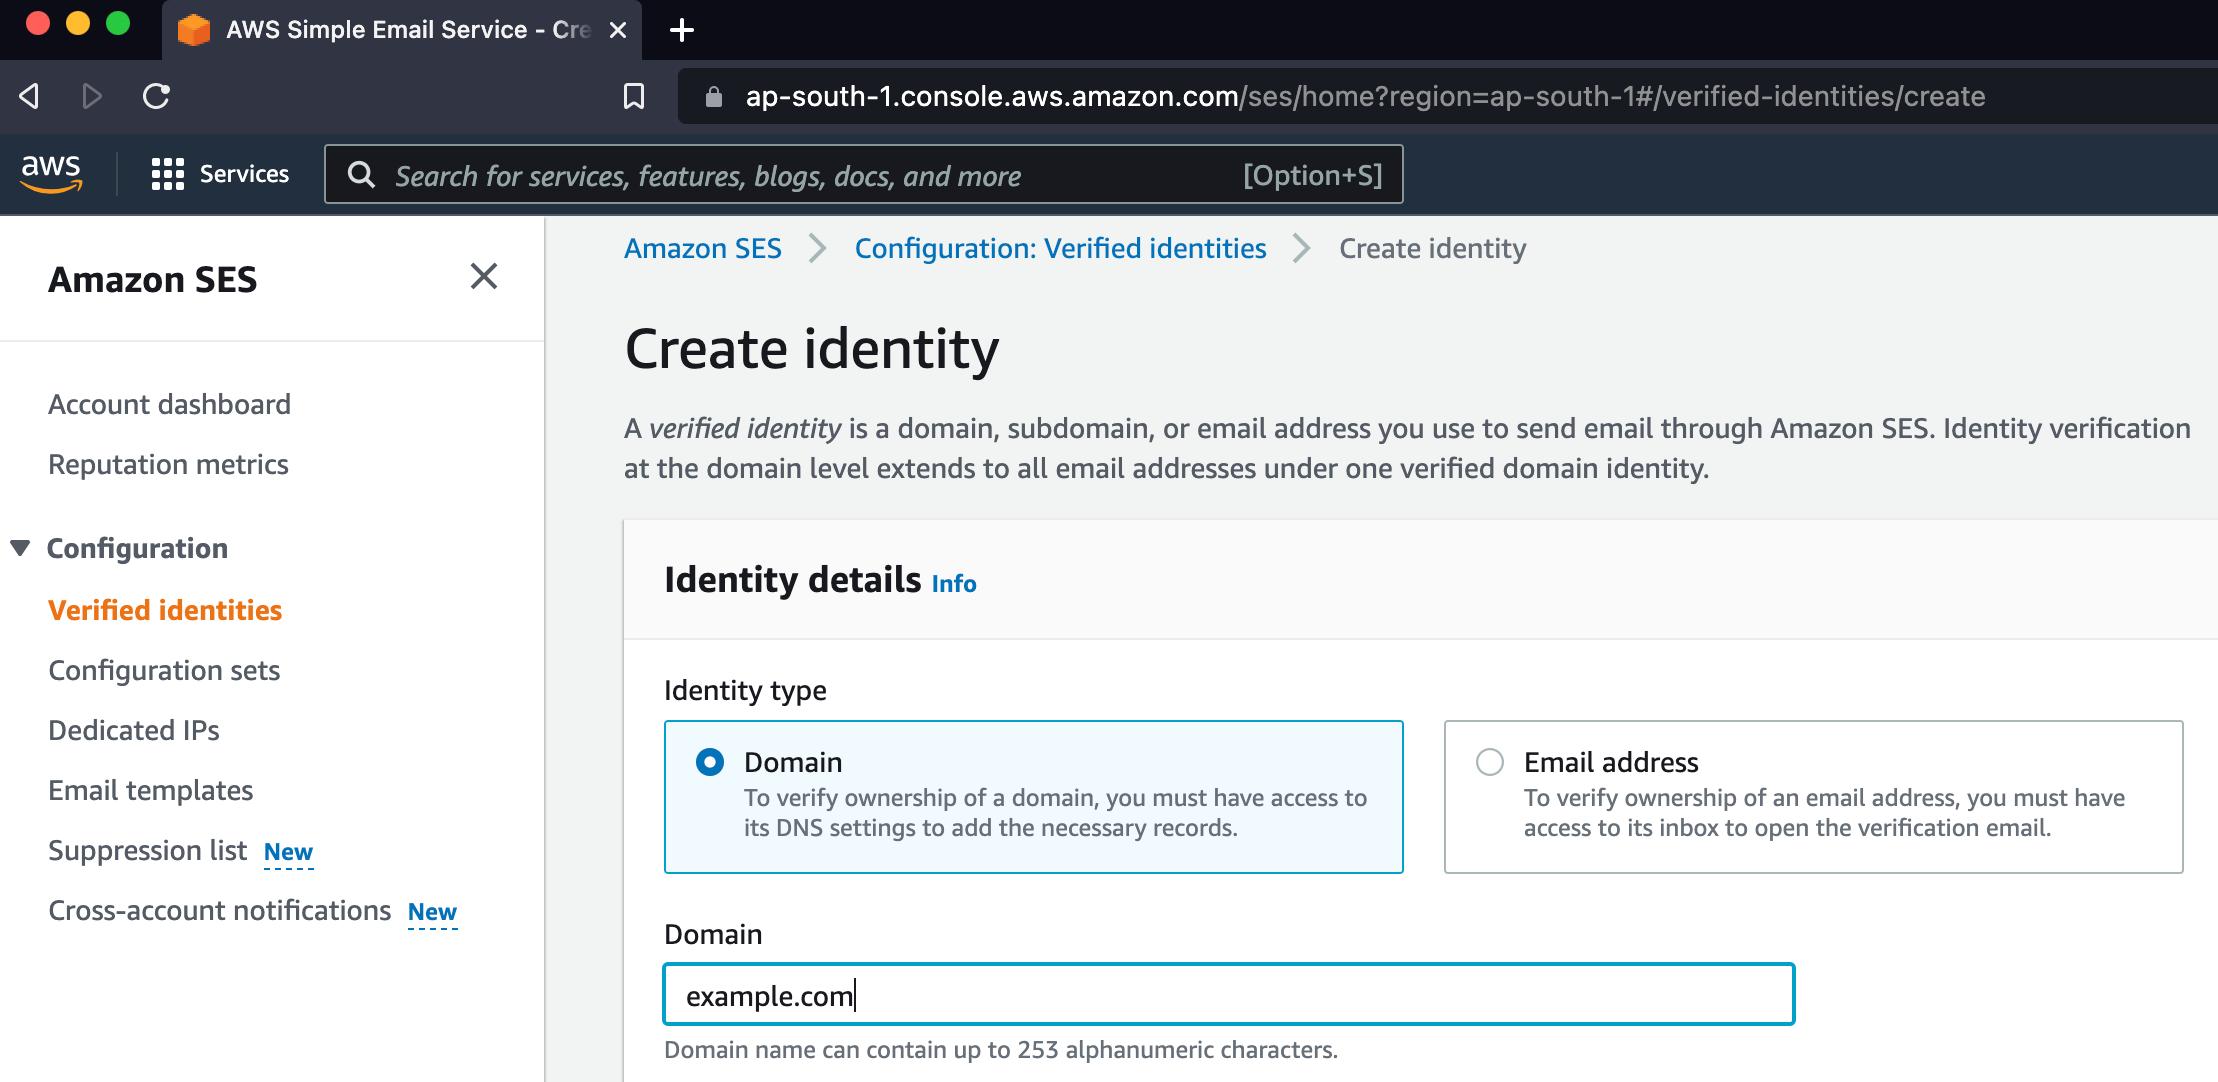
To send the email, we will be using Amazon SES
Configure SES
Let’s add the domain to SES service. If we have our DNS server configured in Route53, it will automatically take care of DKIM and all other mail server configurations.
By default, all the identities created are in a sandbox. We have to raise a request to the Amazon for taking it out of sandbox. It’s fairly simple procedure.
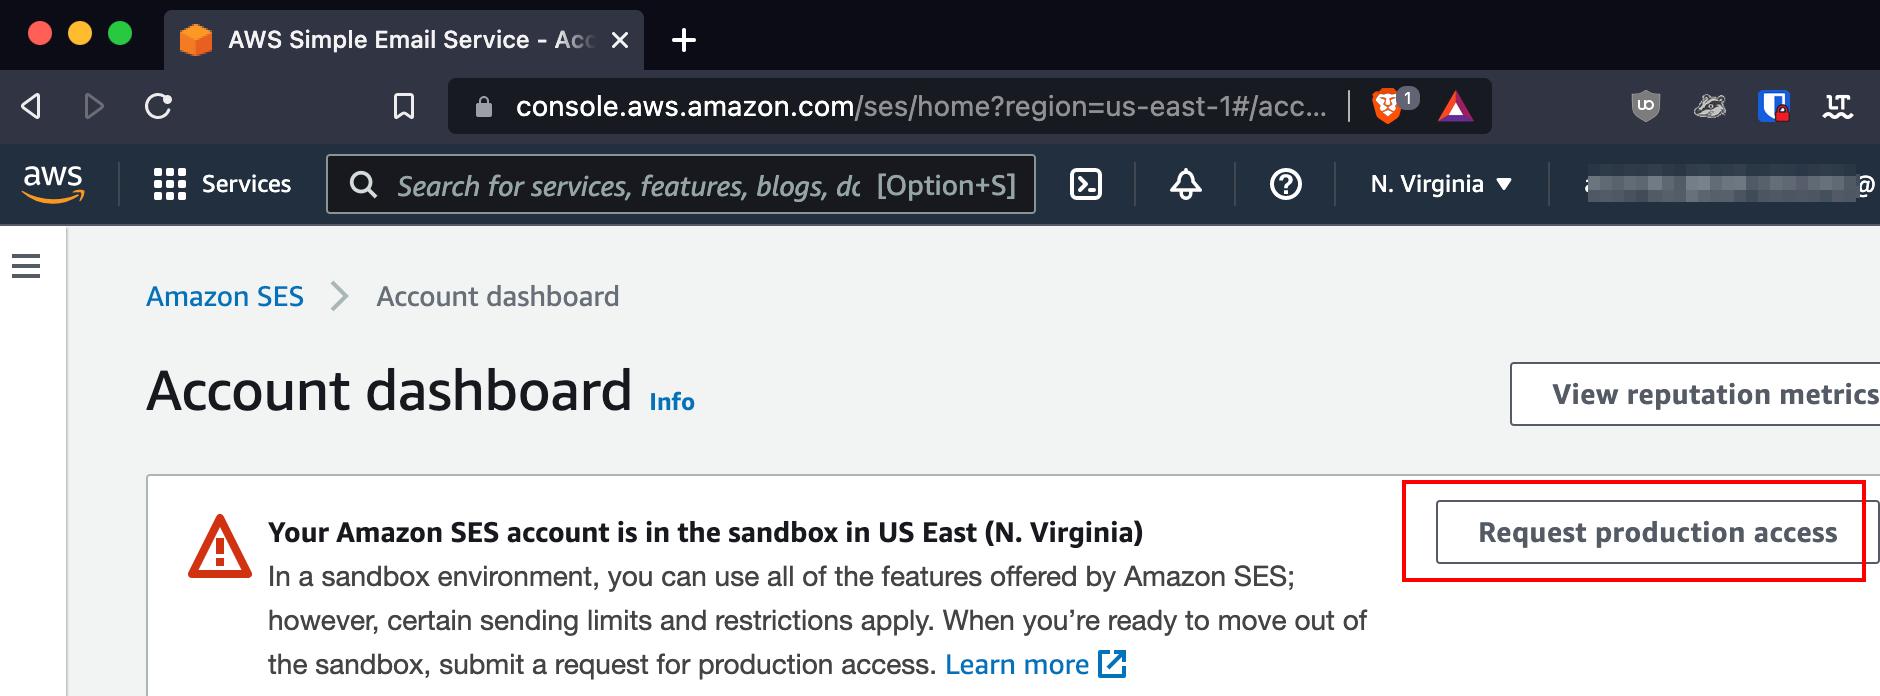
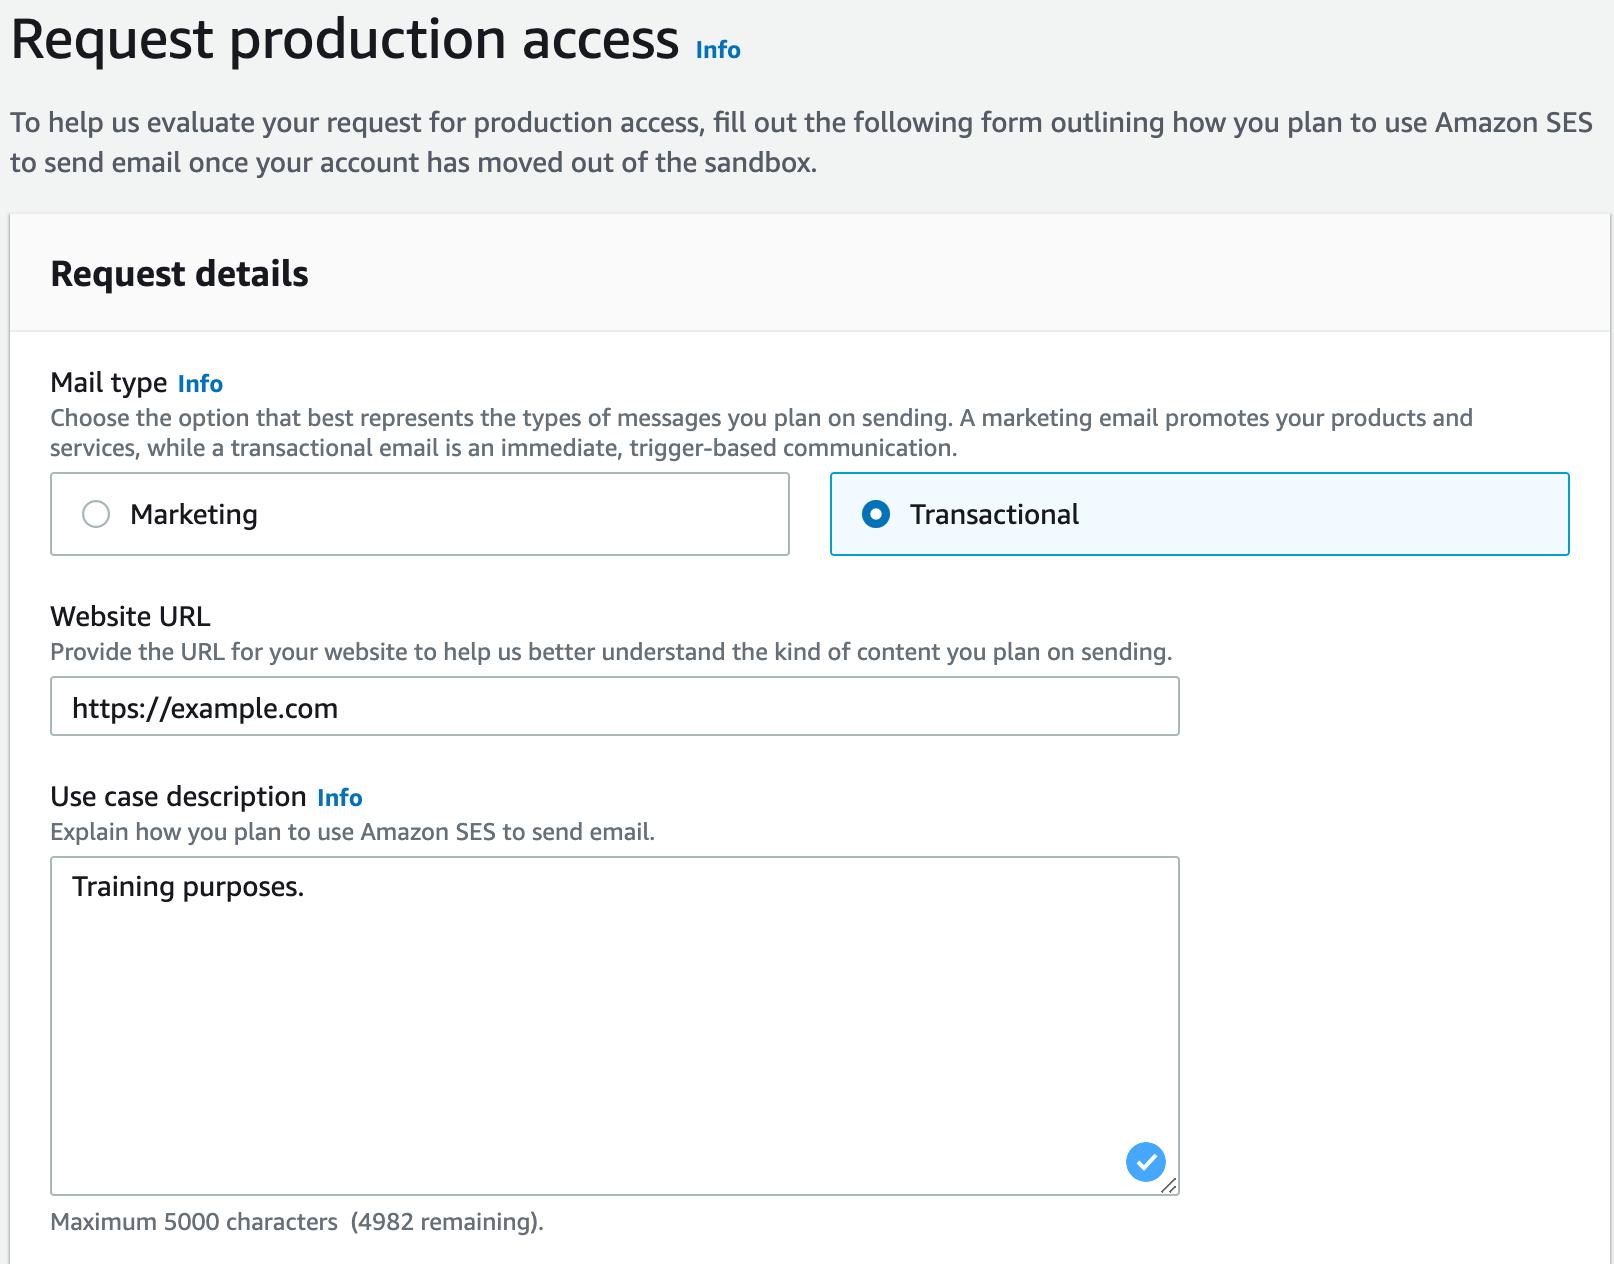
Within hours, the request will be fulfilled, and we will be able to send emails.
Once that is done, let’s create an SMTP credential so that we can authenticate from GoPhish.
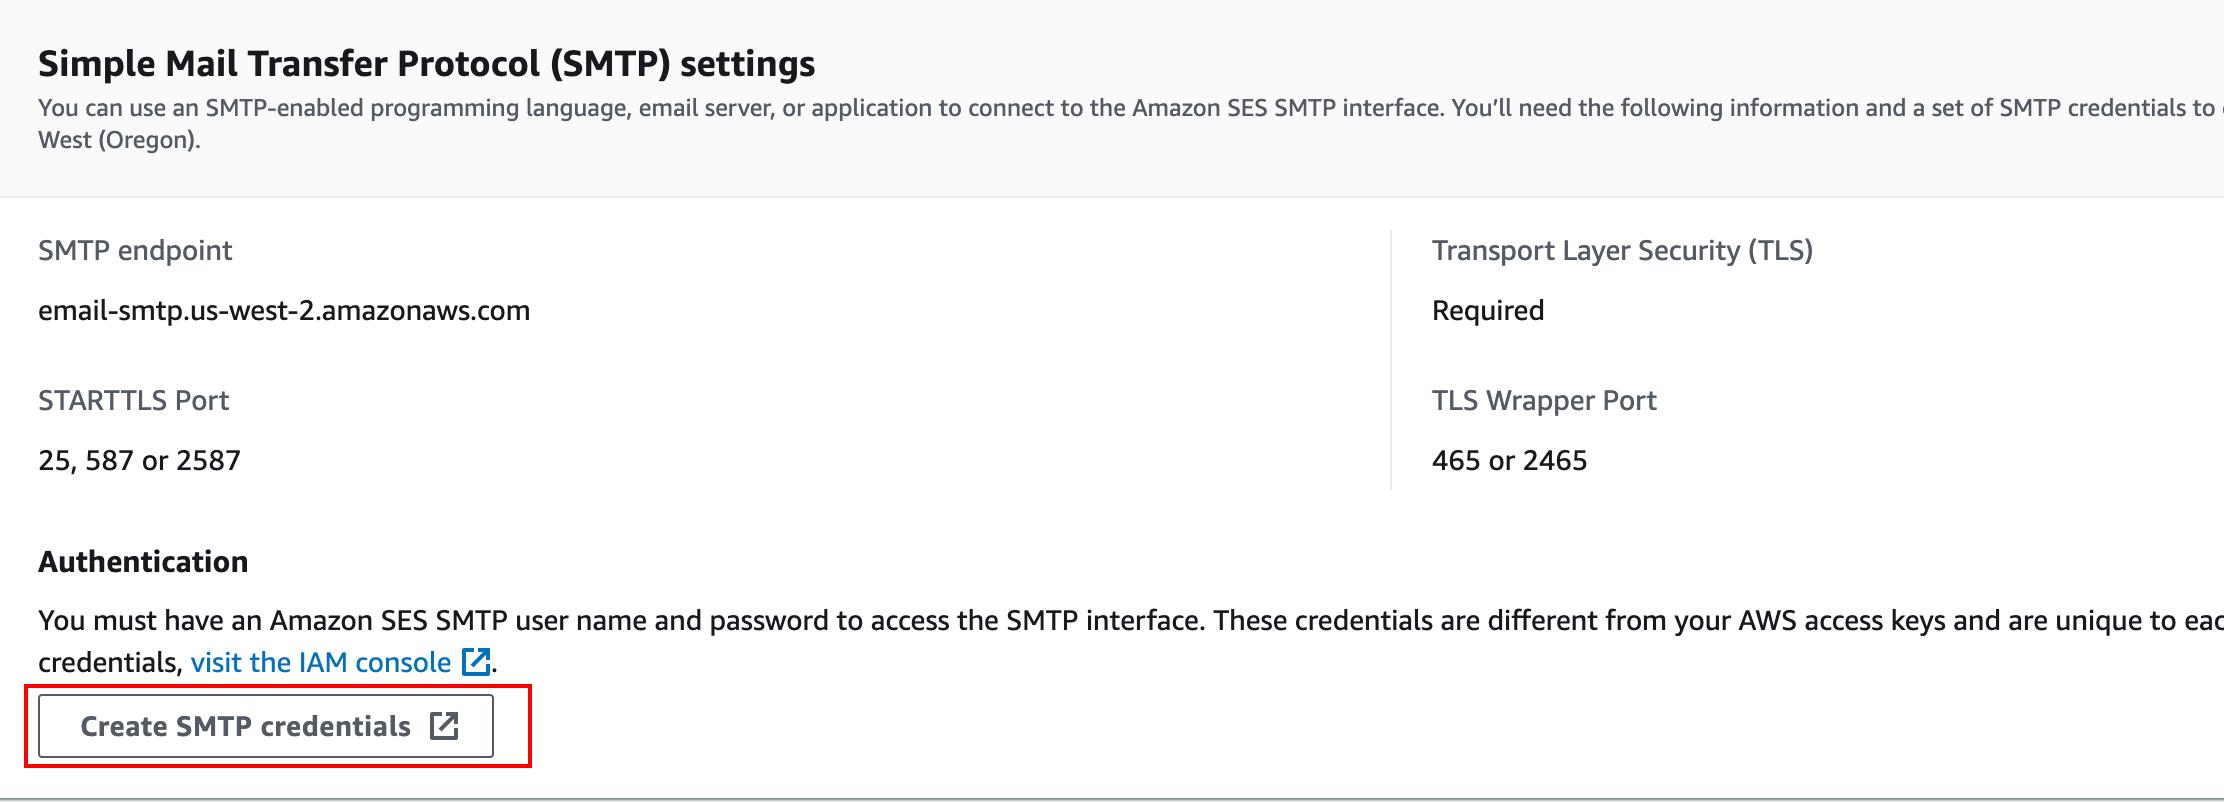
Please follow the link to get more details on configuring Amazon SES.
Sending Profile
Once we have all the SMTP server we are using, it’s time to configure those on GoPhish server.
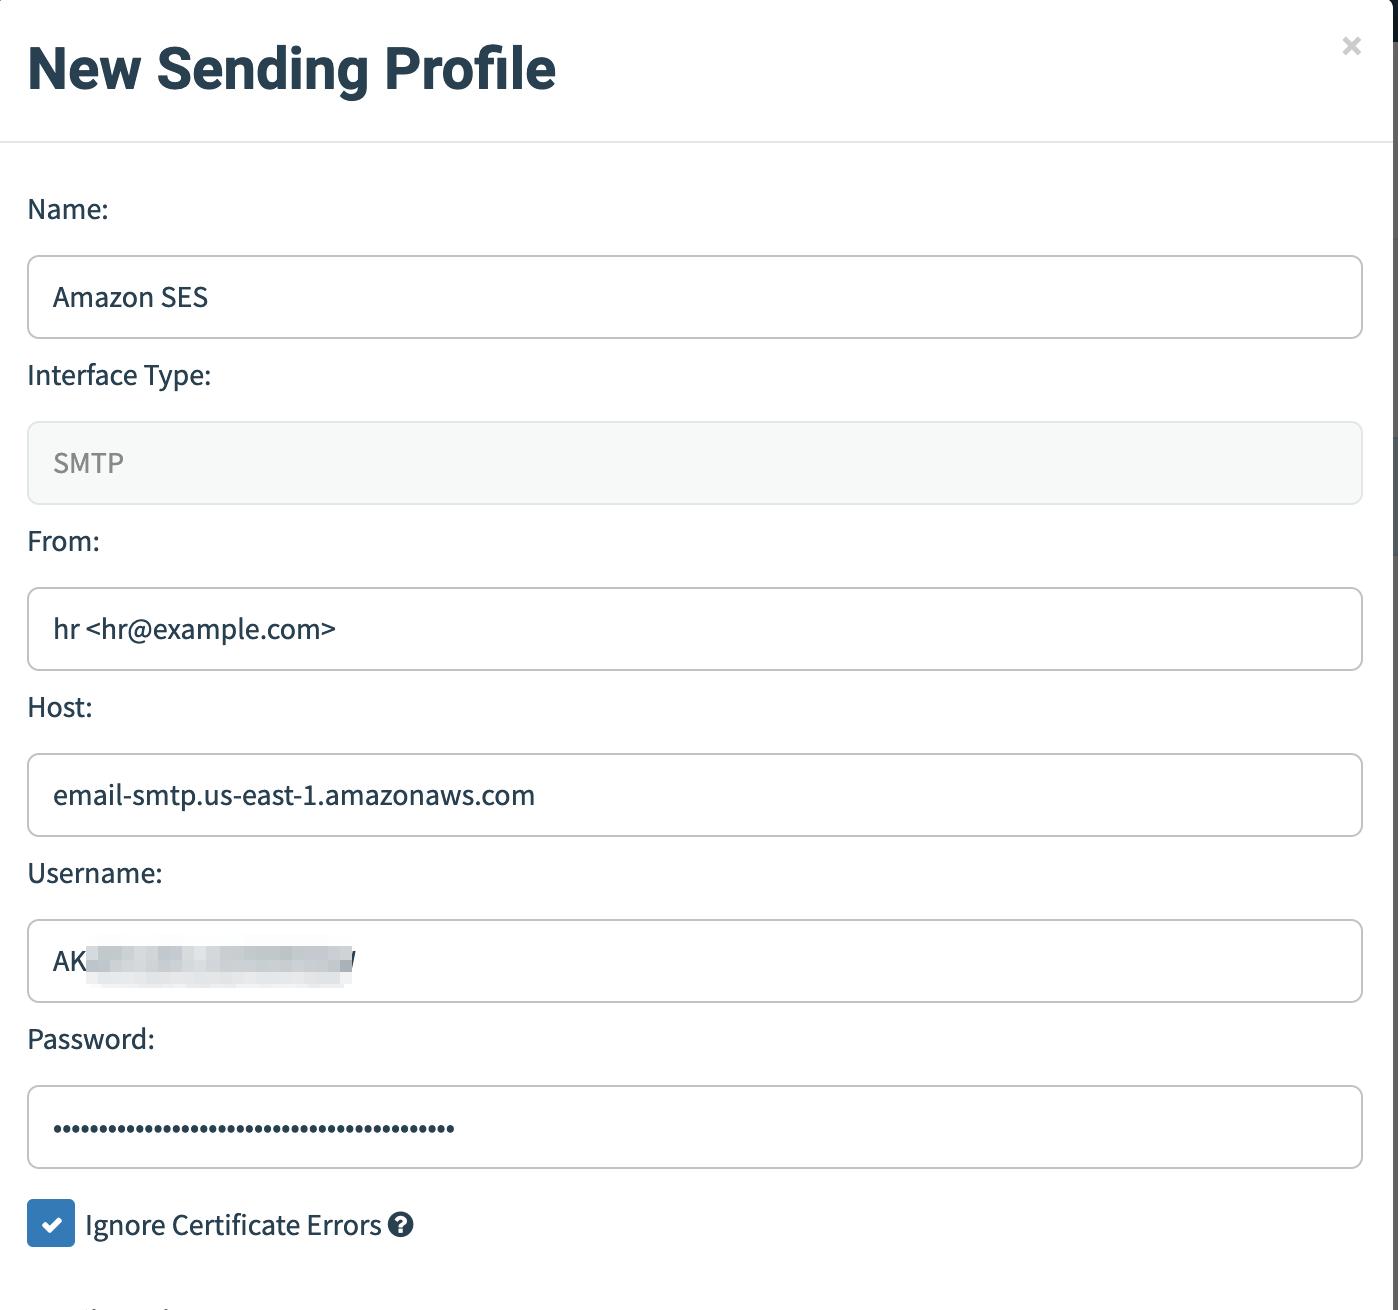
Once we have the data filled, we may do a test mail and check whether everything is working as normal.
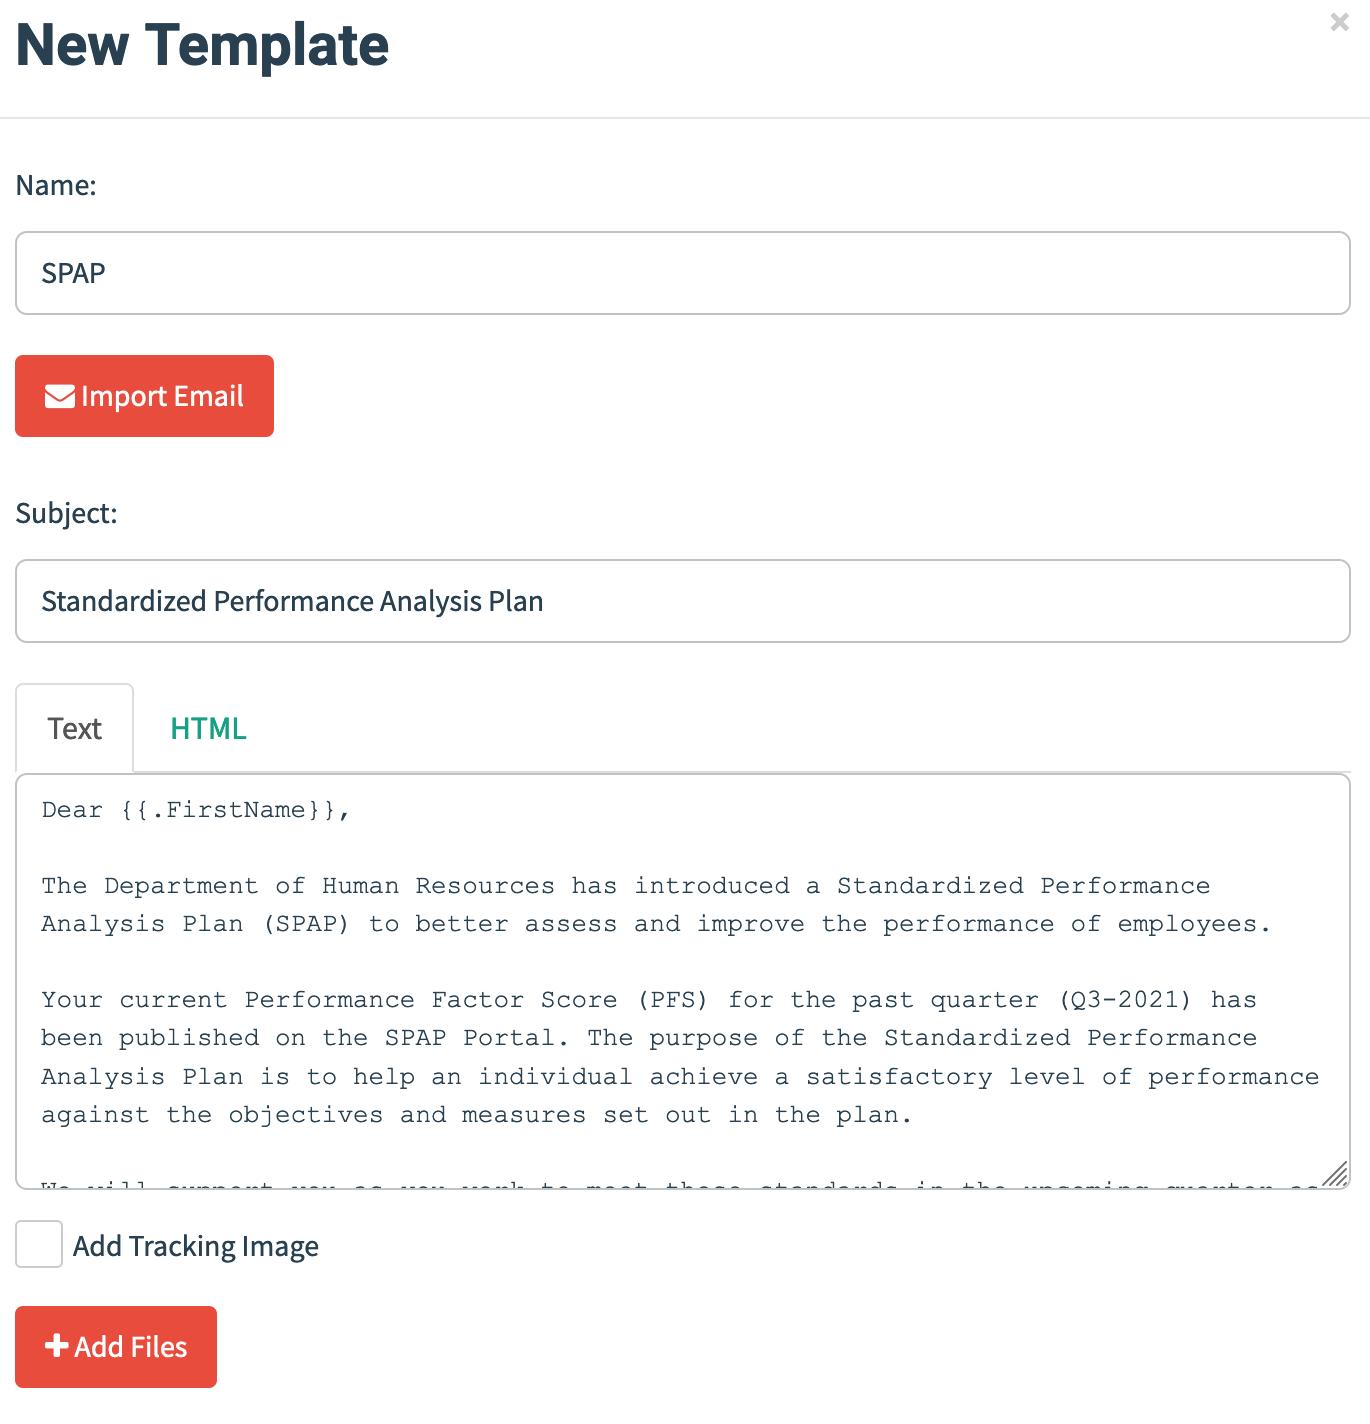
Email template
Once the sending profile is done, we can create email pretext that we are going to use.
It’s up-to the imagination of the operator on what story they want to tell here. For this example, I am using performance analysis related mail.

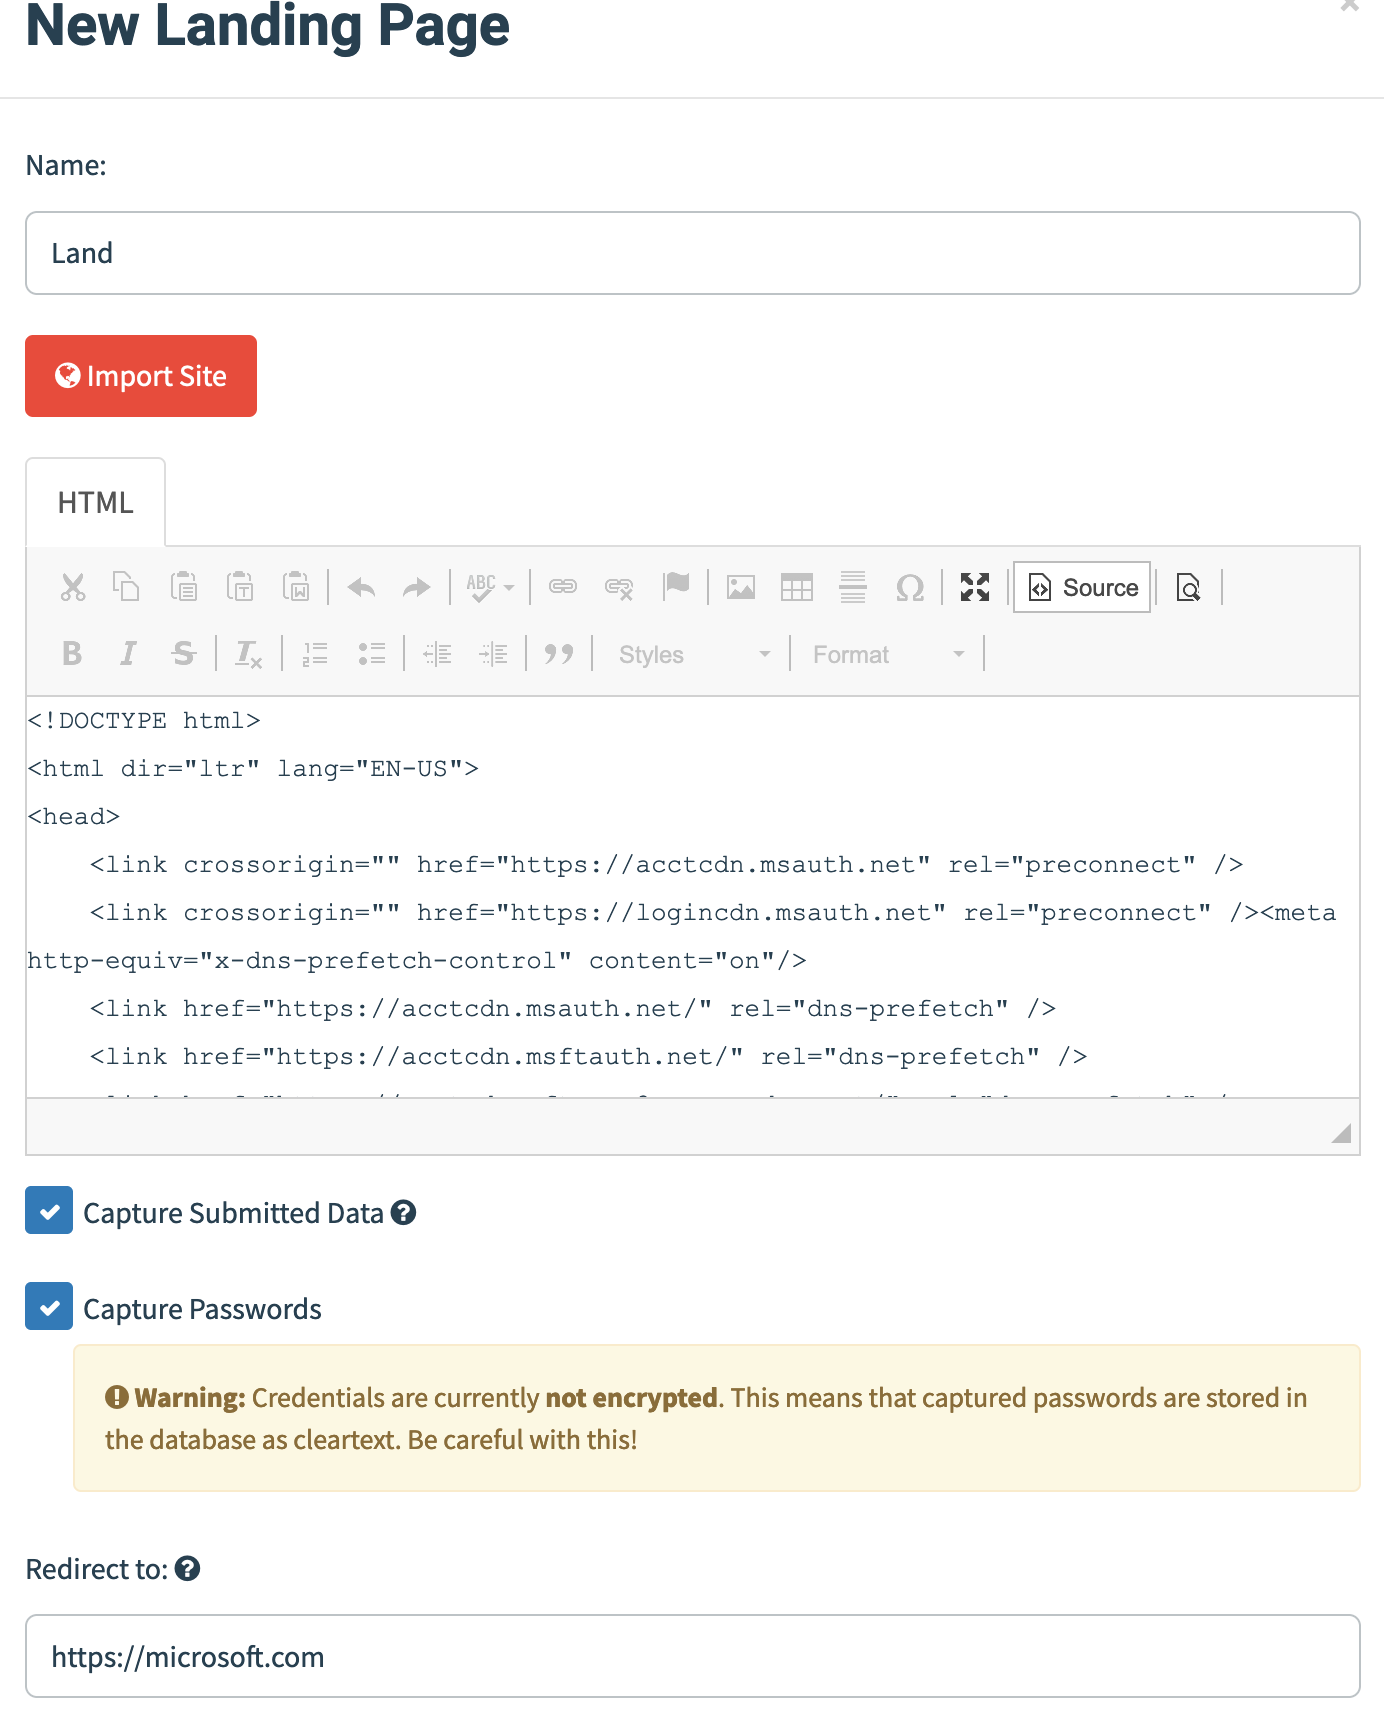
Landing Page
Once we have the email pretext, let’s create a landing page. Once the user clicks on the link, they will be greeted by this page.
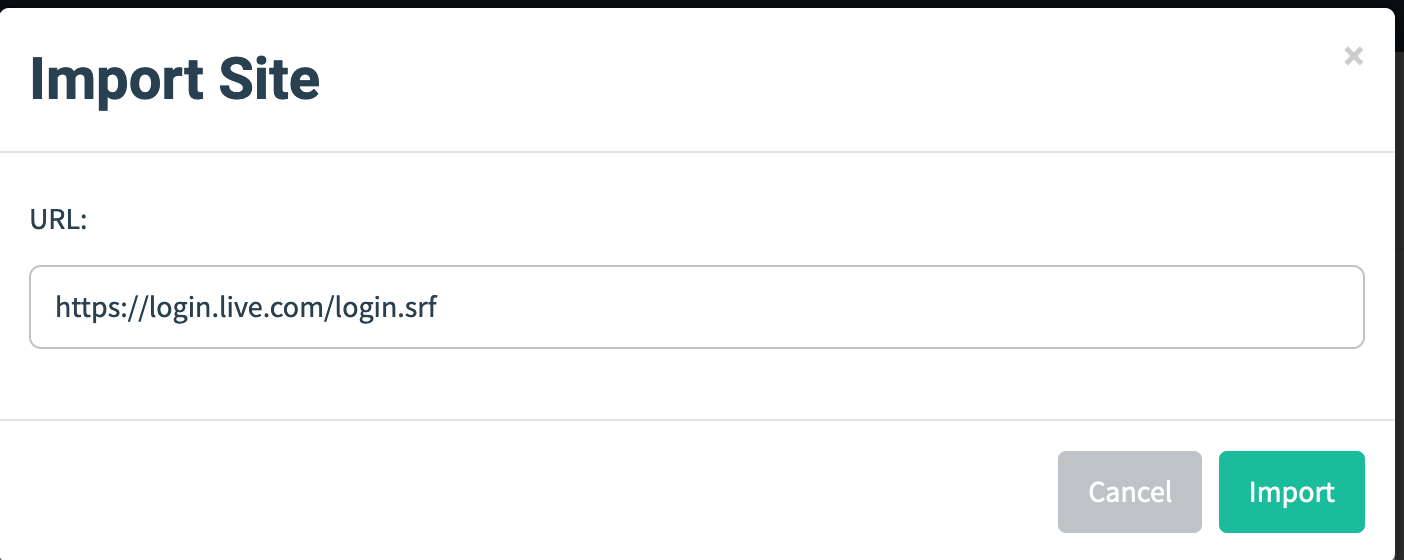
To make the page creation easier, GoPhish has a functionality by which we can import a website.
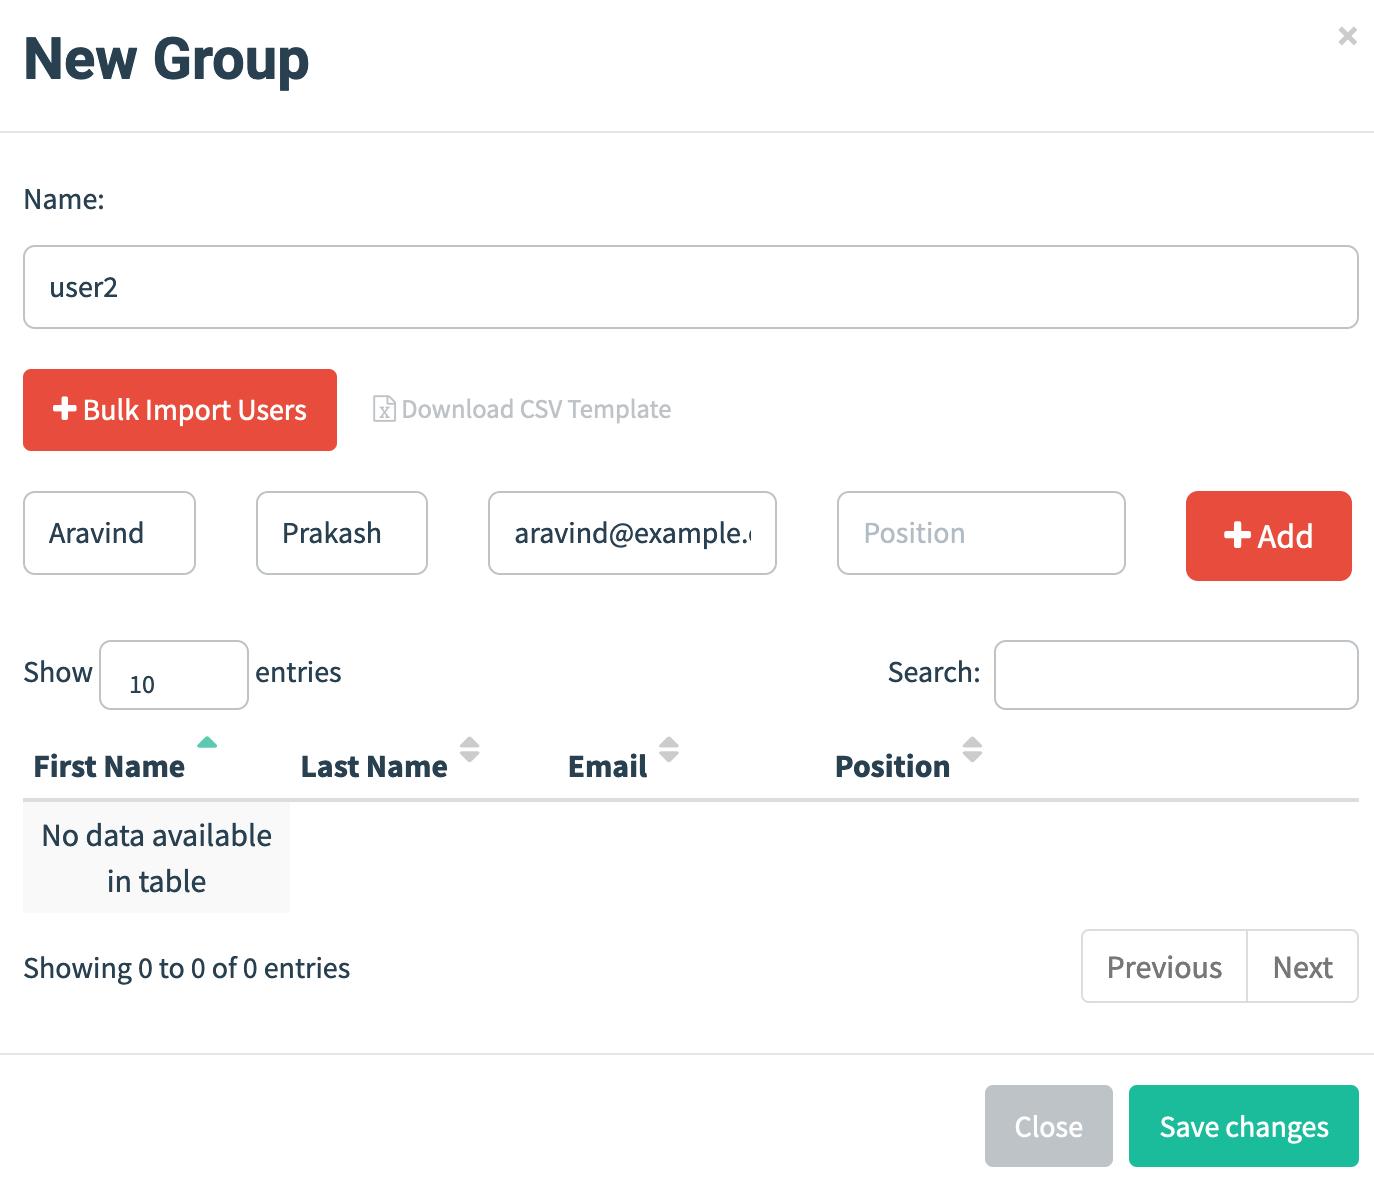
User list
Once we have the infrastructure setup. Let’s add some users to GoPhish and sent mail.
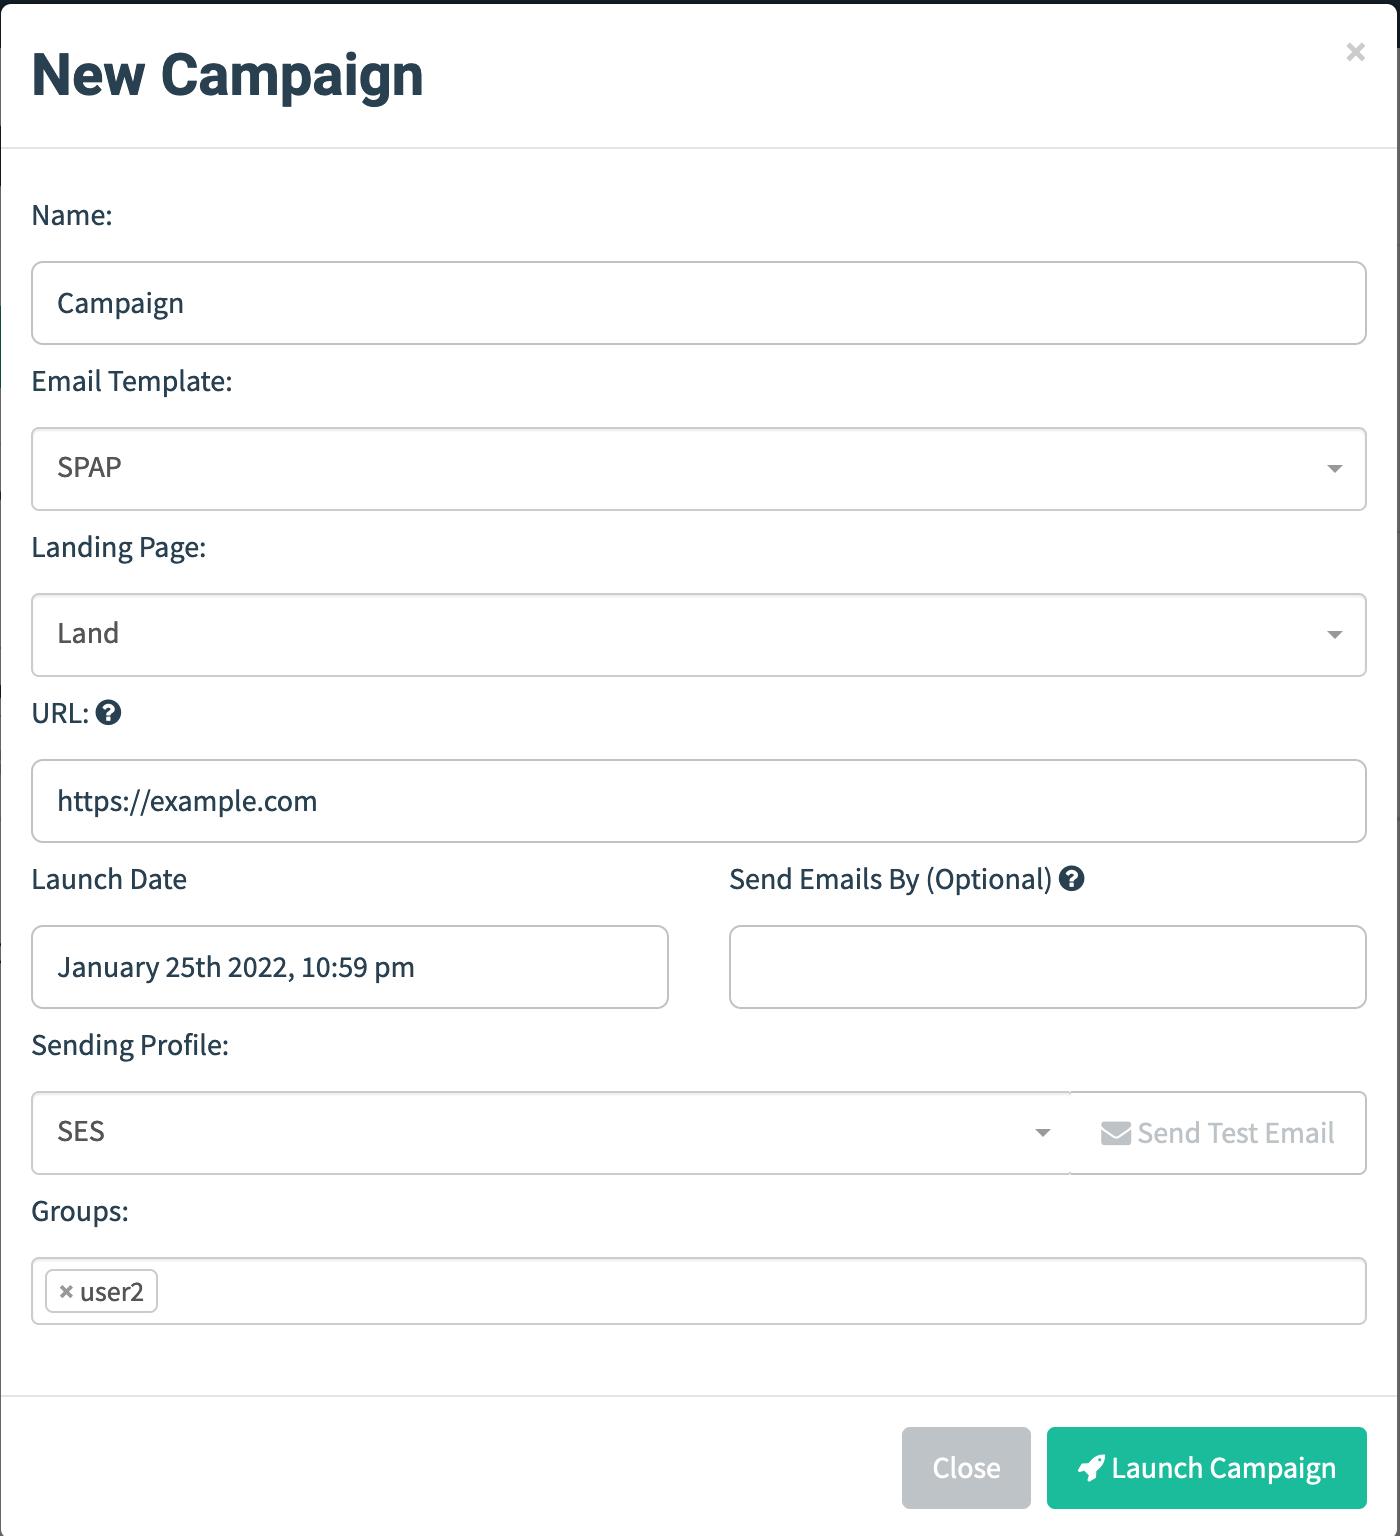
Now we have everything set to start the campaign.
Don’t forget to open the port 443 to internet.
Let’s start the campaign
If everything works out, we will find the email in victim’s inbox.

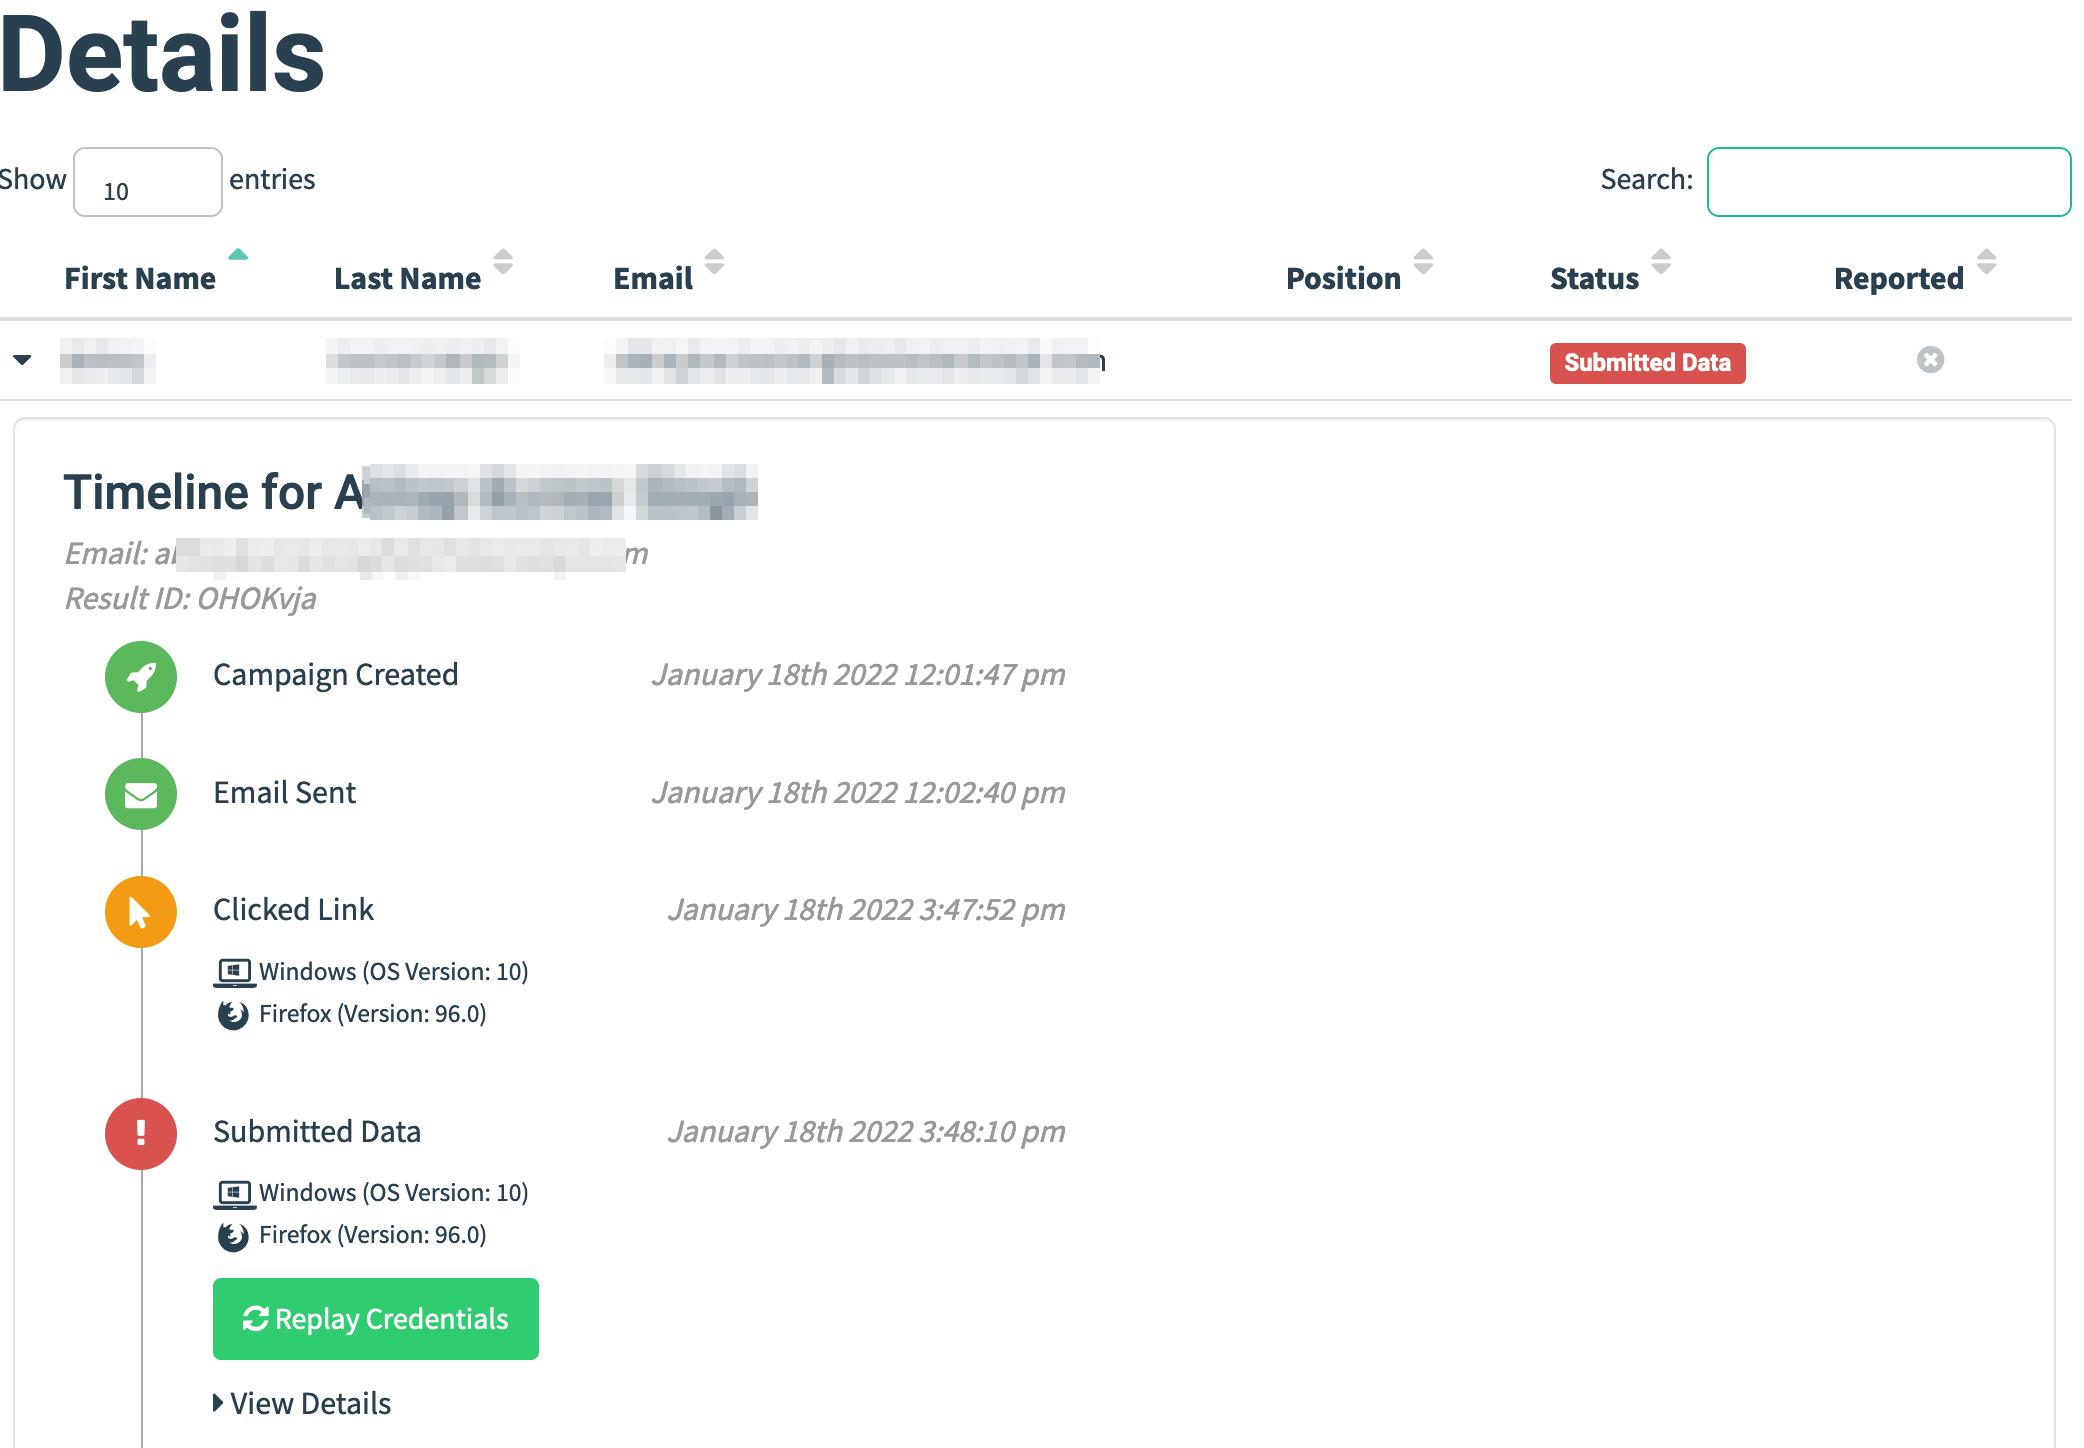
Once the users clicks on the link, the victim will be greeted with a login page.
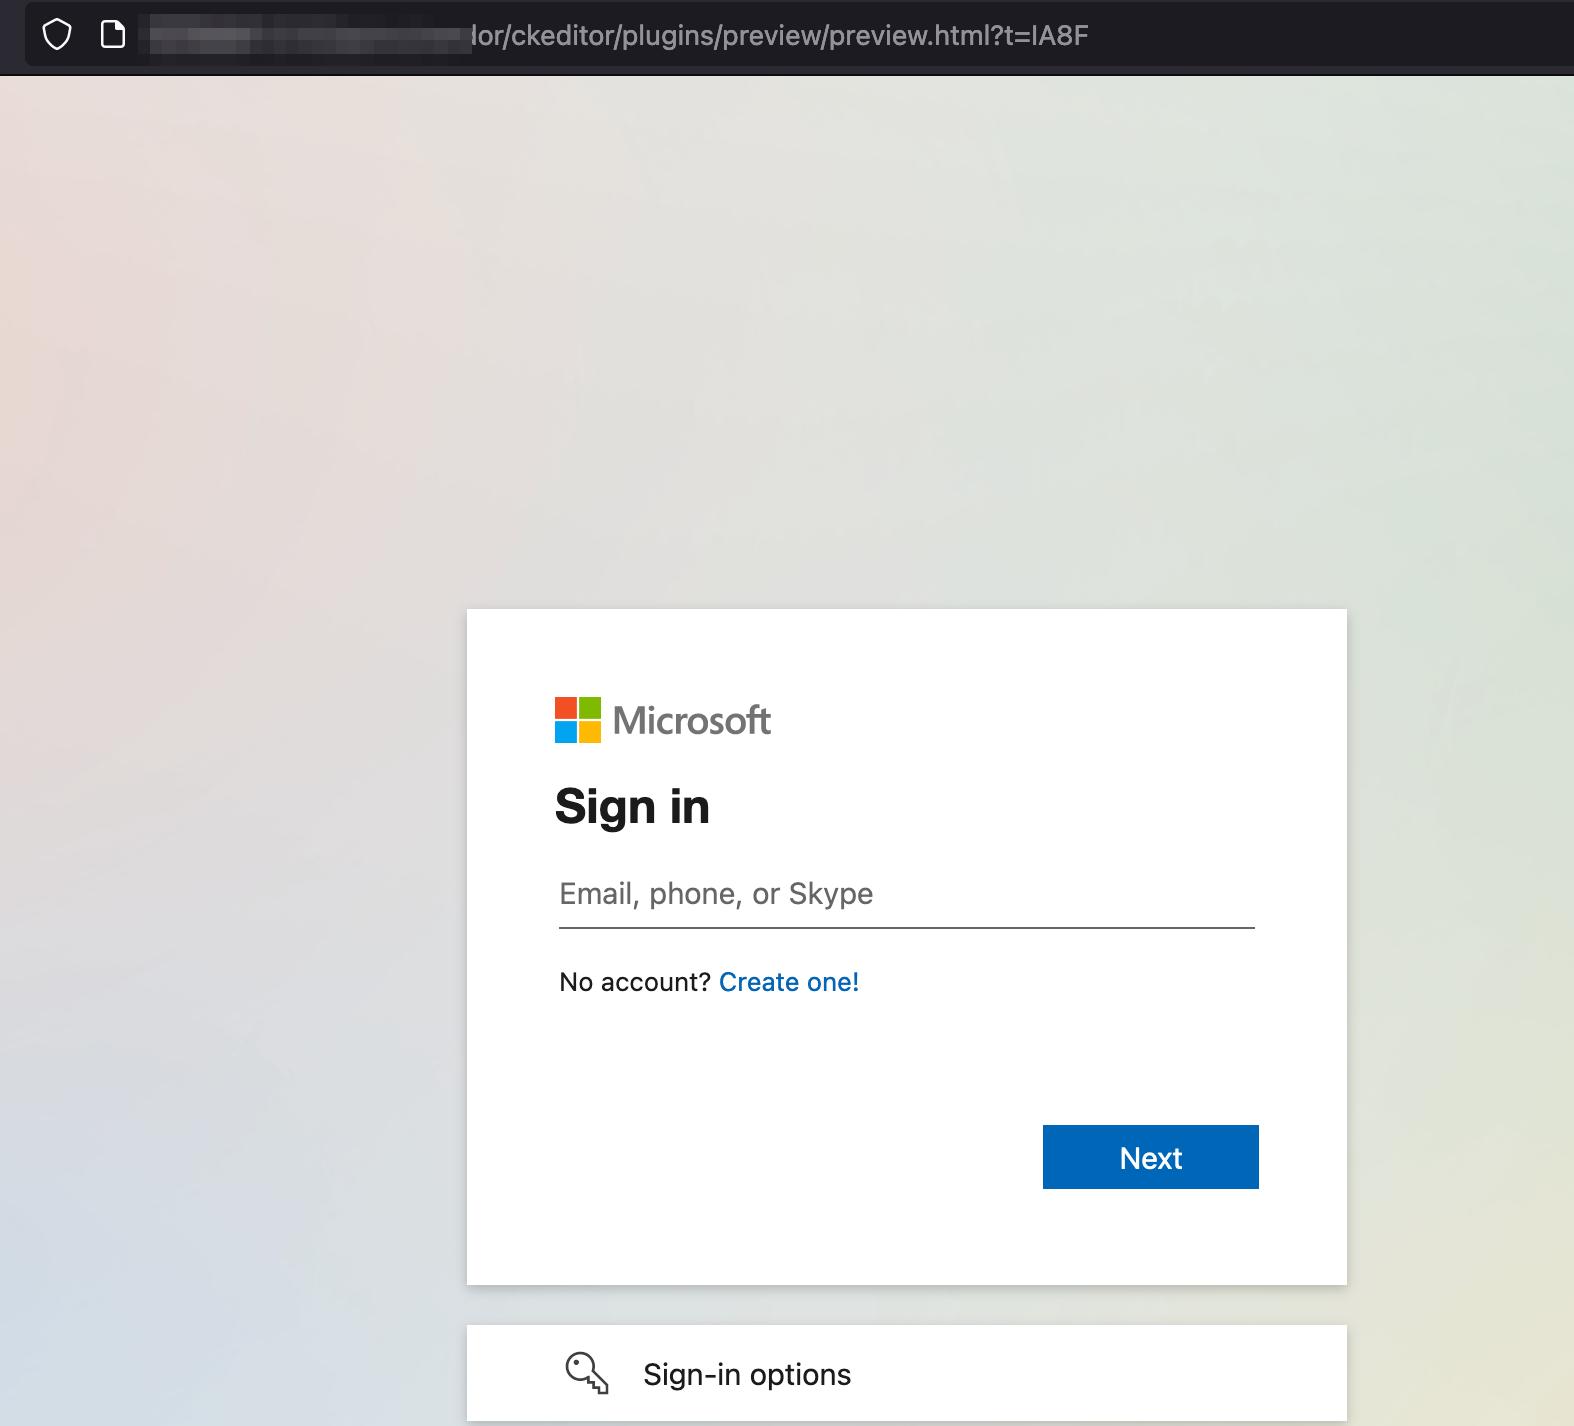
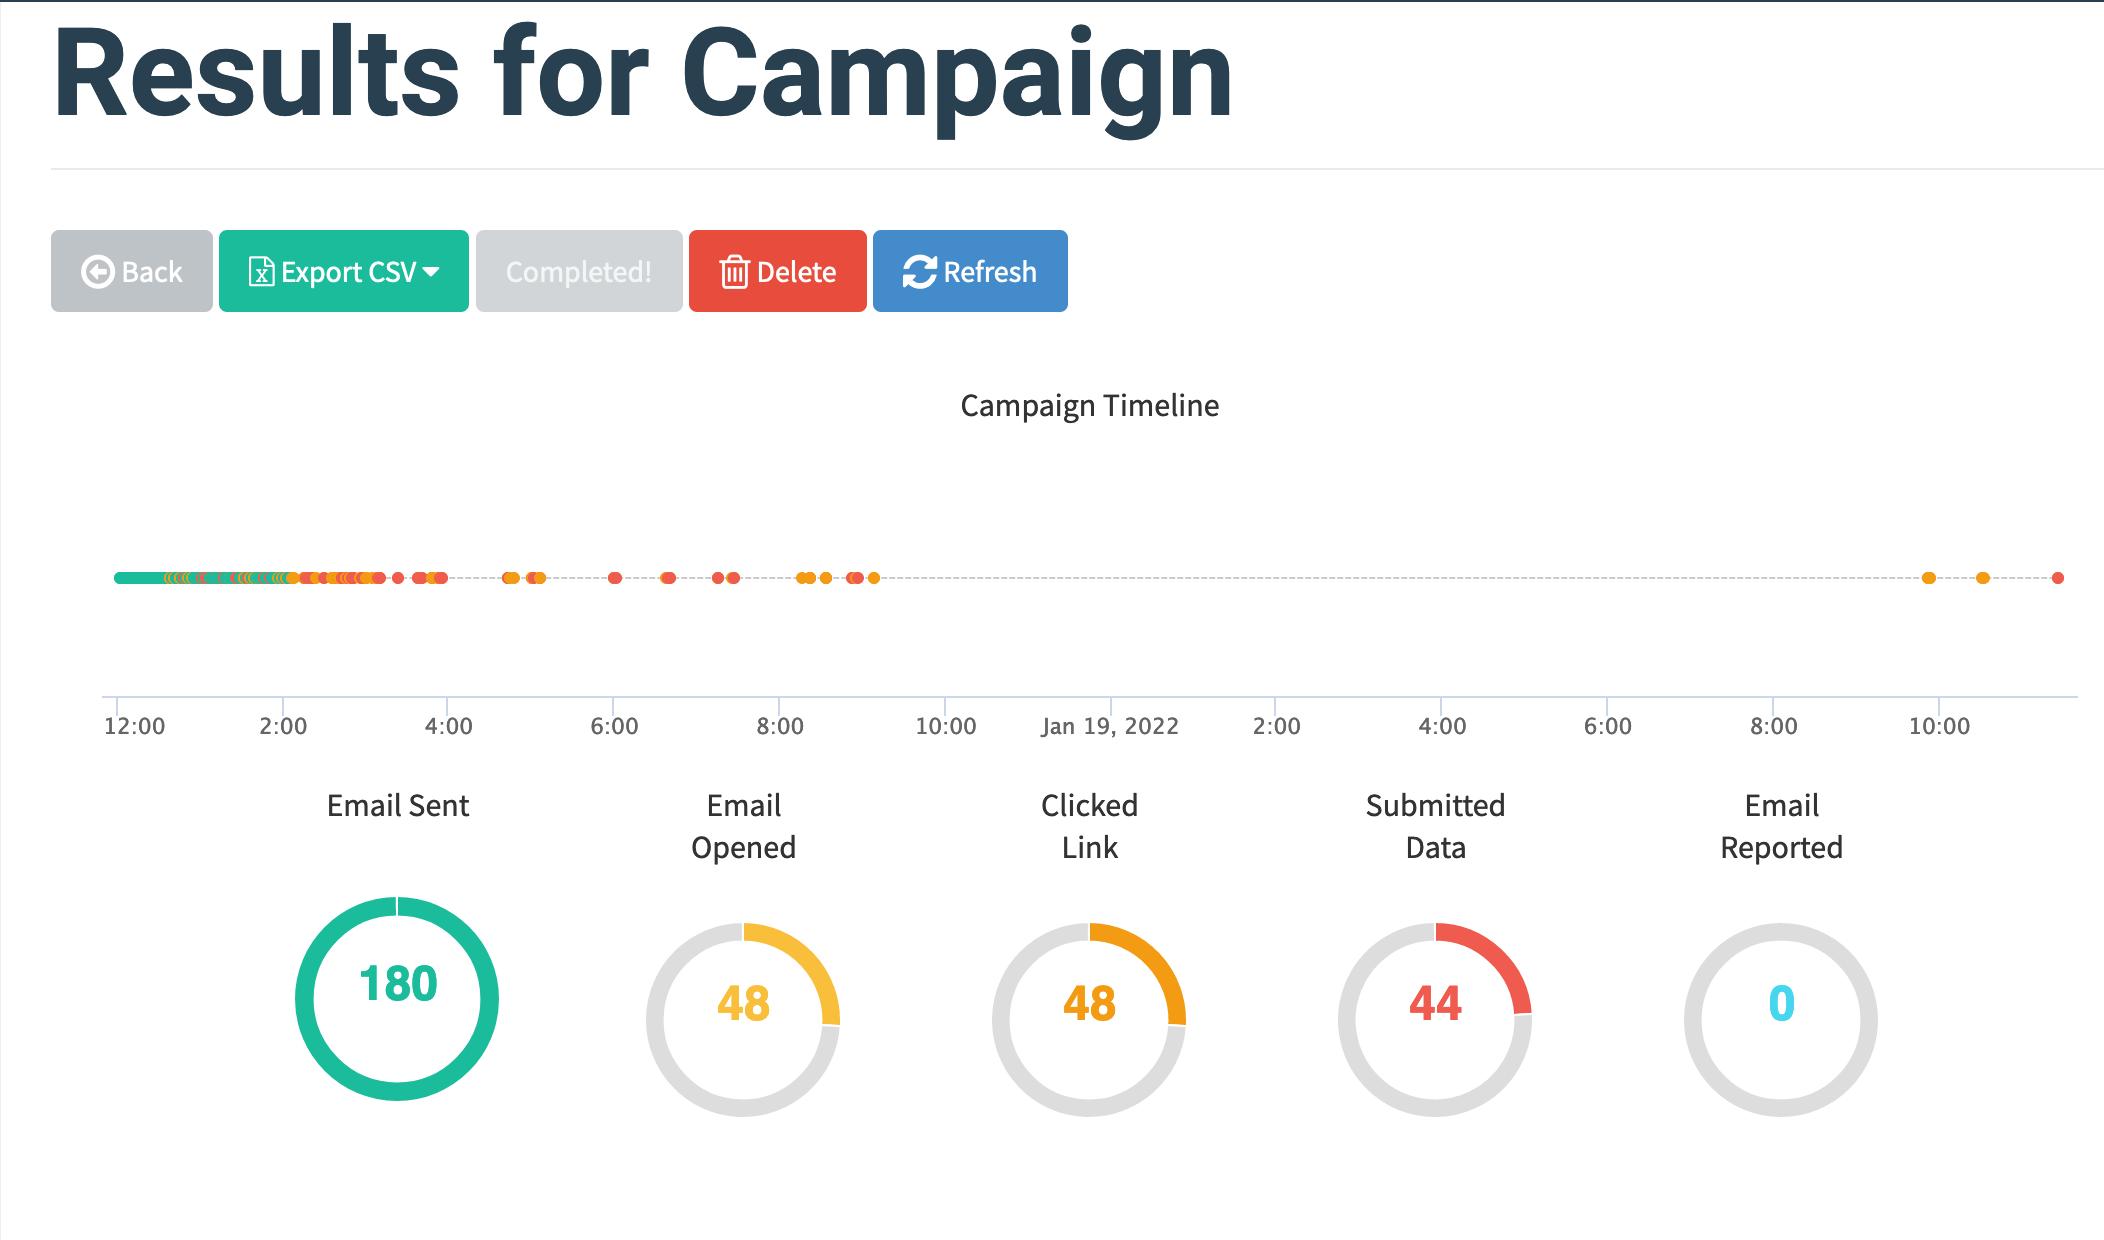
Once they put in the credentials, we can see that on the GoPhish dashboard